Affordable Modern Furniture Flip
Disclosure: This blog contains affiliate links. I will receive a commission for items purchased through these links at no extra cost to you. I appreciate your support. Please read all labels and follow all manufacturer safety recommendations when working with paints, stains, and other equipment.
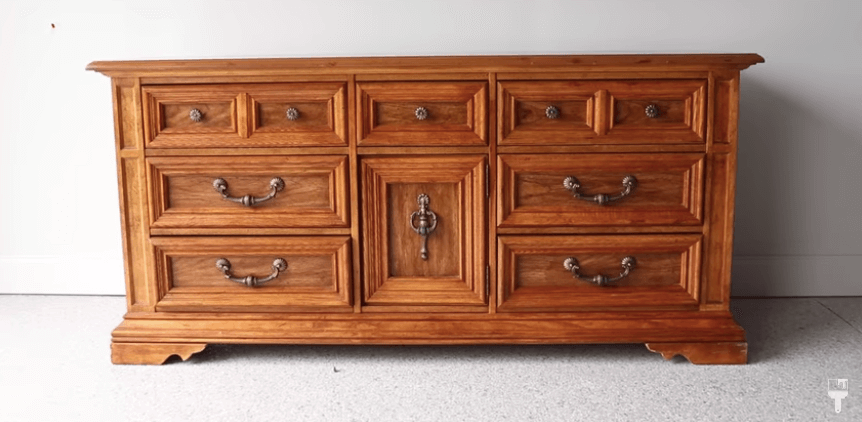
Today I’m showing you how I turned an outdated dresser and gave it some new life with this affordable modern furniture makeover. I got this dresser on Facebook marketplace for $40, and other than some minor damage, it was in pretty good shape.
I used my Wagner Flexio 3500 to spray paint this project. And because I saved so much time spraying this dresser, I threw in a bonus project! So stay tuned.
Take a look at the before image of this dresser. I can’t wait for you to see the results.
Products Used for this Affordable Modern Furniture Flip:
Wagner Flexio 3500 Paint Sprayer (Detail Finish Nozzle)
Wagner Large Pop-Up Spray Tent
Zinsser Bullseye 123 Primer Gray
Melange ONE Restoration Bronze
Step 1: Make Repairs & Modernize
Before getting to my usual first step of cleaning, I’m going to go ahead and begin by making some repairs and adjustments to modernize this dresser.
Repair damages
I started off by flipping the dresser on its back, and there was a bit of structural damage on the bottom of it. I glued it together and reattached it to the base of the piece.
Modernize the base
First is the base. There is a curvy element on the legs that are definitely outdating it, so I got my Ryobi Jigsaw and squared it off. I love this trick because it’s a great way to give an old dresser a modern look without completely rebuilding the base. AFFORDABLE modern furniture is what we’re going for!
Remove outdated hardware
The next step to modernize this dresser is to remove the dated and ornate hardware. I always keep my hardware because you never know when it’s going to be the perfect fit for another furniture flip.
Step 2: Clean & Sanding
Now for the boring, yet important, step. ;) Time to clean the piece. For this dresser, I used some Simple Green and scrubbed off all of the grease, grime, and dirt. And remember, rinsing everything down with some clean water is just as important.
I had one more step to do before sanding the dresser. When I get new hardware on the piece, I was going to use the existing hardware holes, but for the bottom four drawers, the space of the holes was a bit funky. I went ahead and filled the holes with some DAP plastic wood. I love using this because it comes in a pink color that dried to a natural color so you know when it’s ready to sand.
Now the piece is ready for some sanding, so I grabbed my extension pad for my Festool sander. The cushion on this pad will help me get into the grooves. I used a 220 grit sandpaper to sand down the plastic wood as well as scuff sanding the entire piece.
Step 3: Spray with Wagner Flexio 3500
I used to never spray paint my furniture because I was too intimidated by it. But I have to say, I LOVE using a spray gun to get my makeovers done. I have saved so many hours. If you’re scared to use a spray gun, don’t worry. I have a spray paint beginner’s guide for you!
Before getting started, I taped off the inside of the drawers to protect them from overspray. I set up my Wagner Large Pop-Up Spray Tent, and now we’re ready to start spraying.
Test your sprayer
I can’t emphasize it enough. No matter how comfortable you are with a spray paint gun, always test it out before taking it to your project.
Prime the piece if necessary
Priming your piece is always an optional step. Every project is different and depending on the type of material and type of paint that you’re using, you may not need to prime your piece.
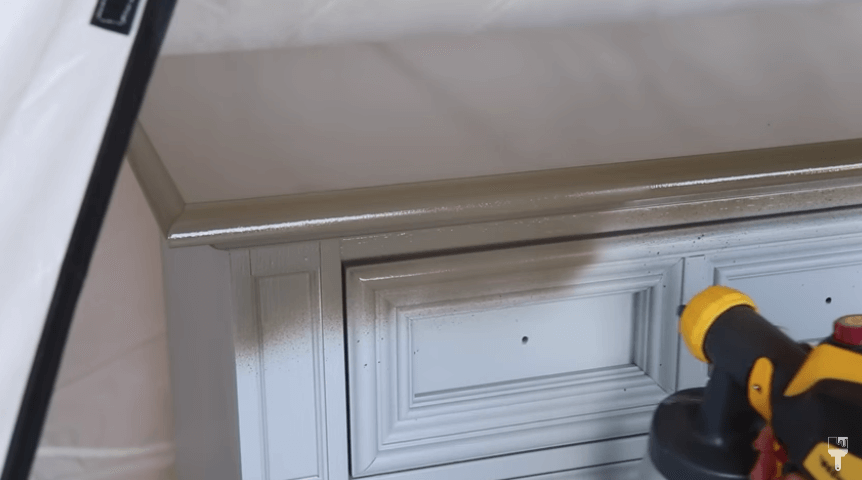
Even though I’m using all-in-one paint, I decided to prime my piece because of its slick factory finish. I wanted to give myself some extra insurance. Also, the Bullseye 123 Primer I decided to use will give me some odor blockage protection.
When I spray, I like to have my paints thinned out, so I thinned out the primer to the specifications on the can which was 1oz of water to 12oz of primer.
I won’t get into the details of the Wagner spray gun because I have a full tutorial on settings, best practices, and more. Check it out here!
I did light sand in between my first and second primer coats to achieve that super smooth look I’m going for. I only did the second coat on the top because that surface was a little more damaged, and I wanted to make sure it got great coverage.
Make sure to let the primer dry for an hour in between coats and to wipe back the dust from sanding.
Spray paint your piece
I’m trying out new paint for this project. I’m using Melange ONE in Restoration Bronze. I have to say that I haven’t met an all-in-one paint that I haven’t liked yet. So I imagine I’m going to like what Melange has to offer.
The first thing I do when using my spray gun is straining the paint. This paint is already a little thinner than the primer, so I only used 1oz of water to 20oz of paint.
Note: In between my first and second coat of paint, I decided to drill my new hardware holes in the bottom 4 drawers. This way I could cover up any chips or damage created by the drill. Even though this is my least favorite thing to do in my makeovers, but this hardware jig that I got from Amazon definitely helps.
On the second coat, I pulled out the drawers a bit so that I could spray around the frames.
Bonus: Thrifted Vase Flips
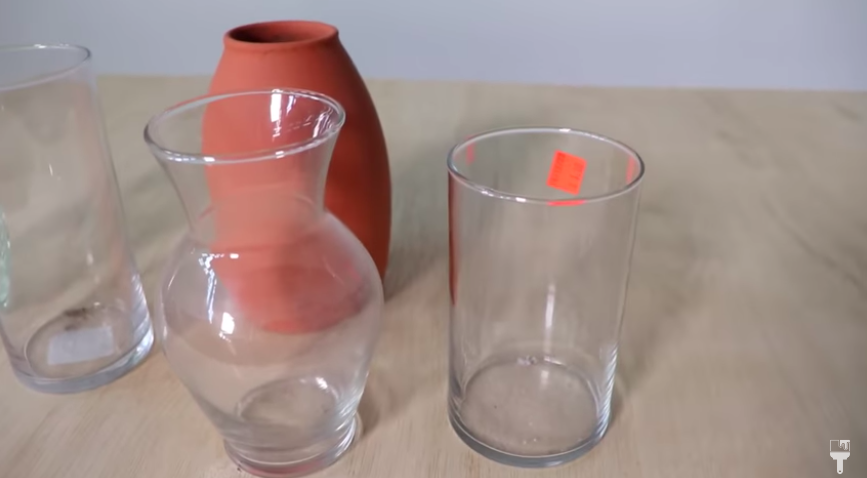
As I mentioned, I saved so much time on the project by spray painting, so here is a little bonus project! I’ve done some vase DIY thrift flips before, and I got some great feedback. So I grabbed some glassware at a thrift store, and I’m going to spray some cream-colored furniture paint on them.
Step 1: The first step is to clean the vases and then give them a good rinse.
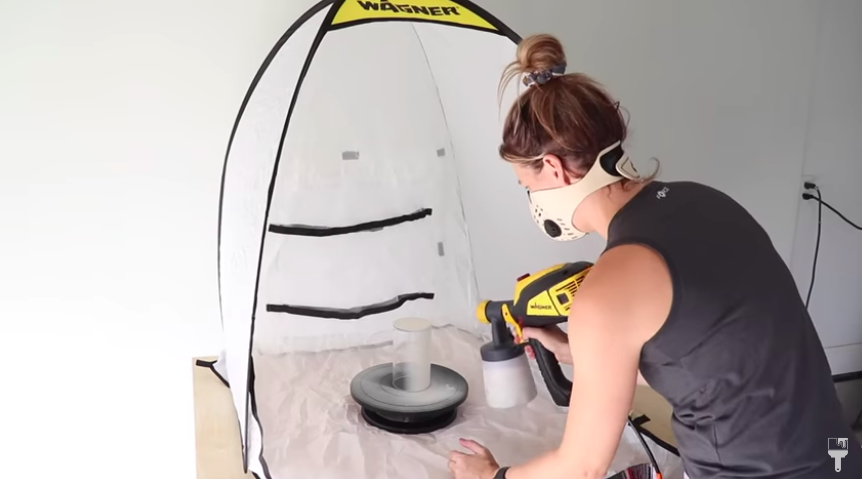
Step 2: Then I prepped my spray paint zone with Wagner Small Spray Shelter which is SO easy to set up. I also got this Wagner Turntable that will help me get a super smooth finish.
Step 3: I placed one vase at a time on the turntable and sprayed vertically up and down as I slowly turned the turntable.
So quick and so easy. These turned out great!
Affordable Modern Furniture Flip Finishing Touches
Now that my vases and my dresser have dried overnight, I’m going to make some finishing touches.
I took off my painter’s tape that was protecting the inside of the drawers.
The drawers had liners in them that kept them in great condition. I removed those liners and quickly sanded the small areas were paint did slip through a bit.
Lastly, I grabbed my scented furniture bomb that will refresh the inside of these drawers.
Affordable Modern Furniture Flip Reveal
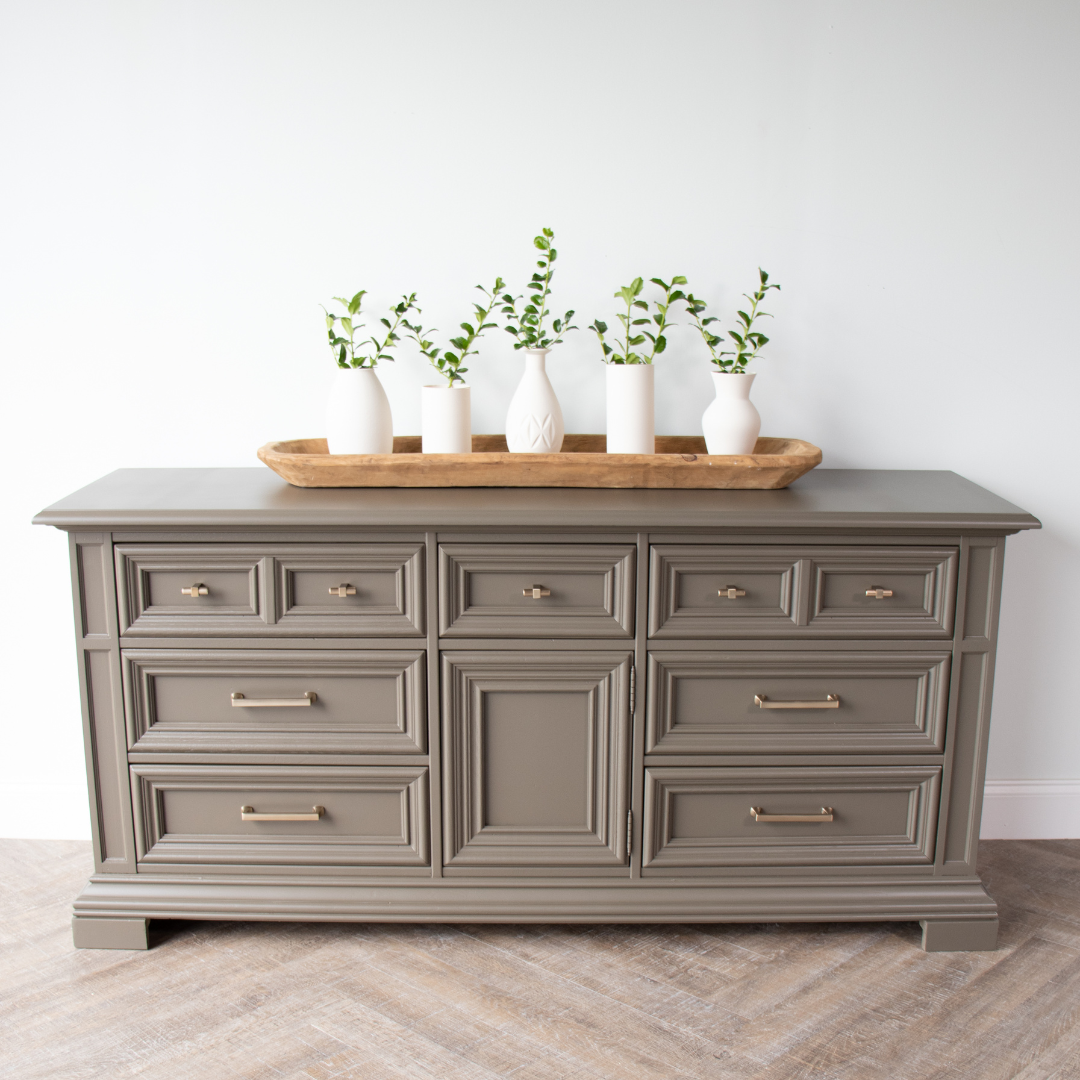
And now for the moment of truth. I really loved this Melange all-in-one paint. Two thumbs up. It leveled out beautifully, and I loved the finish on it. I styled up the dresser with my newly flipped vases, and now, for the reveal.
This was a fun project, and I have to say, spray painting is definitely becoming my thing! If you want to see this affordable modern furniture makeover in action, check out the full tutorial here.

