Spray Painting vs Rolling Beyond Paint
Disclosure: This blog contains affiliate links. I will receive a commission for items purchased through these links at no extra cost to you. I appreciate your support. Please read all labels and follow all manufacturer safety recommendations when working with paints, stains, and other equipment.
Today, I’m using one of my favorite beginner-friendly DIY paints, Beyond Paint! One of my most popular YouTube makeovers was a dresser that I flipped using Beyond Paint. The big difference in today’s makeover is I’ll be spray painting vs rolling which is how I’ve applied this paint in the past!
I purchased this armoire dresser as a part of a set on Facebook Marketplace, and if you’ve seen my recent blog posts or YouTube videos, you’ve seen the hot pink nightstand makeover and the affordable modern furniture dresser flip I did with the two other pieces.
This piece is very dated, and although it’s in good condition, it’s about 80% laminate, so using Beyond Paint is going to be great today because I won’t need to sand or prime to get my paint on.
So let’s get to it!

Spray Painting Beyond Paint: Products Used
Beyond Paint Licorice ***Use code CHRISTINA for 10% off***
Simple Green All Purpose Cleaner
Wagner Flexio 3500 w/ Detail Nozzle - https://homedepot.sjv.io/a1k79N
Wagner Large Spray Tent - https://amzn.to/3B8qo3A
Hardware jig - https://amzn.to/3cbEx6g
Ryobi Jigsaw - https://homedepot.sjv.io/Vy53ej
Ryobi USB Screwdriver - https://homedepot.sjv.io/6bKXx3
Ryobi Drill - https://homedepot.sjv.io/6bN59m
Magnetic Catch - https://homedepot.sjv.io/jWd2oP
Liberty Mandara Cocoa Bronze Hardware: Drawer Pull & Knob
Modernize
The first thing I need to do is modernize this armoire before I even get to cleaning it. I went ahead and started by removing the hardware. The main task to modernize the piece was to square off the base like I did with the others in the set. I used my Jigsaw to cut it and grabbed my sander and 150-grit sandpaper to smooth my cuts down.

Simple Green
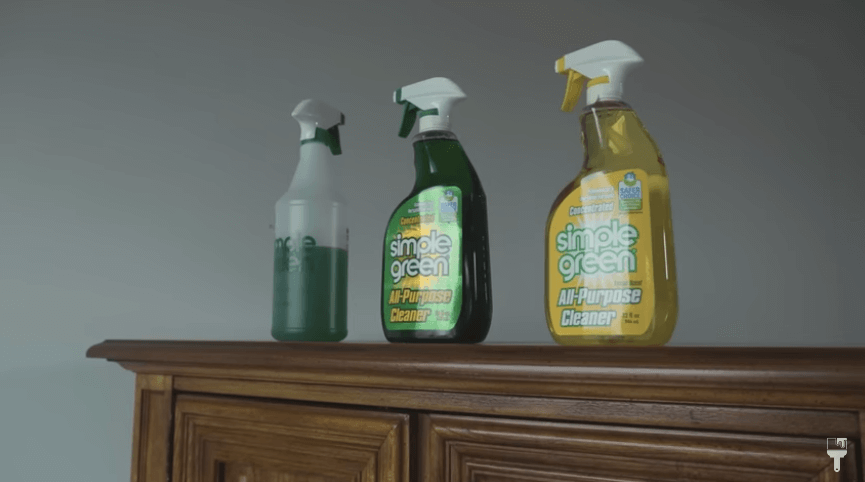
Now for the cleaning. You’ll never see me skip the step. Whether you have a brand new piece of furniture or a thrift store find, cleaning is essential. And to prep for your Beyond Paint makeover, the best cleaner you can use is Simple Green.
More About Simple Green
Simple Green is really easy to use and doesn’t have harsh odors or strong chemical smells like other TSP cleaners. It comes concentrated, so you can follow the instructions on the bottle to mix it to your liking. I decided to do “heave duty strength” which is one part cleaner to one part water.
Simple Green is great at degreasing and getting rid of all of the dirt and grime. And while being a strong cleaning agent, it’s also gentle, so it won’t scratch your surface. I love using it around my house… it’s great in the kitchen. And it can even help get paint out of your paintbrushes.
Okay! Now that I’m done cleaning, I’m going to rinse with some clean water so that there is no residue left.

Fill hardware holes & sand
Just like the other pieces in this set, the hardware holes are a weird size, so I know I’m going to have to fill them. To do this, I used some wood epoxy because I want to work quickly here. This two-part wood epoxy will harden in about 15 minutes once I mix it up.

Once it dried, I took my orbital sander and smoothed it out. I started with a 150 grit sandpaper and then made it even smoother with a 220.
Just a side note: after all was said and done, I actually didn’t smooth these out as much as I should have. So make sure to sand down the epoxy down so it’s nice and smooth. ;)

Spray Painting Beyond Paint: All in One Paint
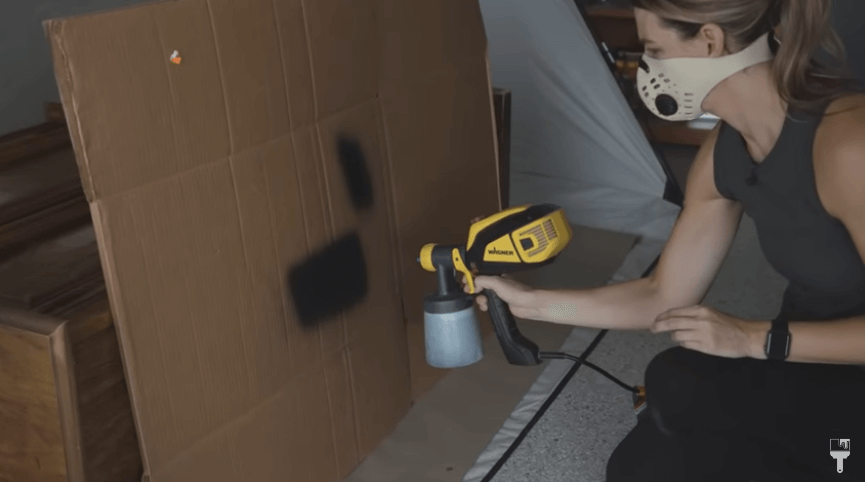
We’re finally ready to paint after all of that prep! I love working with Beyond Paint because it’s so beginner-friendly. But here’s the twist. We’re going to see how spraying painting vs rolling goes today. I’ll be using my Wagner Flexio 3500 today to spray paint this piece, and you know I’m a sucker for black, so I’m trying Beyond Paint’s Licorice color.

How to spray paint Beyond Paint
You may know that I've been getting really comfortable with my Wagner sprayer, and I’ve seen others use a sprayer for Beyond Paint. So I wanted to try it for myself.
Typically I’m going to suggest doing a lot more prep like scuff sanding and priming your piece. And when I’m using my spray gun, I also usually do things like thinning out and staining my paint. Well, this project is going against all of the rules. And that’s why I love Beyond Paint so much.

To spray Beyond Paint, you don’t have to water it down, you don’t have to mix it, and you don’t even have to strain it. So I just poured it right into the container. This part felt so counterintuitive to me because it’s such a thick paint. Don’t freak out…it all works out.
The Wagner 3500 has a couple of adjustable settings. I can adjust my material flow, so I’m starting out with a pretty open setting right now because of how thick the paint is.
With chalk paints, I’m usually starting my air power setting at a 5. I’m going to start out that way, but because it’s so thick, I’m most likely going to be bumping that up as I test it out.
Like my other spraying projects, I used my popup Spray Tent. Because my armoire is too big to stand up in it, I laid it on its side. I like doing that anyways with big pieces because it’s easier to spray and helps level out the paint. I also propped it up on some 2x4s so that it doesn’t stick to the ground.
Tip: after testing, do your first pass on a part of your project that won’t be seen. I did the top since I have a tall piece.

If your spray gun is jumping
My first pass went pretty well, but my gun is jumping a little bit. So this is telling me that the paint is too thick. The instructions do say you can add a little bit of water if your gun is getting tripped up, so I added just a little bit of distilled water to thin the paint out just a tad.
Cleaning the spray gun

I have to wait a while before putting on the second coat, so I’m going to seal up my paint container and clean my sprayer so that it doesn’t gunk up. I want to assure you how simple cleaning a spray gun is!
I like to get a bucket of soapy water and disassemble all of the nozzle pieces. The only piece that you don’t need to (and shouldn’t) wash is the air intake tube. You can set that aside and throw the rest in the bucket. I have a little scrubber to give the pieces a good wash. And that’s it! It honestly takes the same amount of time that it takes to clean up paint brushes and rollers.

That definitely went way faster than rolling, but beyond paint is textured. I'm interested to see how this dries down, cuz it really does have that orange peel effect still that helps it kind of get in the Knicks and dings and helps you get like a better look with a piece that might be a little beat up like this. So let's keep going and see how it goes.
Okay. So I probably used about 10 ounces of paint on that first coat. I have a little lid that fits right on here. I'm gonna seal my paint up and in between coats,
So Spray Painting vs Rolling?
I have to say that I’m really impressed with how this paint has dried down with the sprayer. As the paint was going on, it definitely had the same orange peel effect that it does with rolling. That is normal because Beyond Paint does have some texture to it which helps when you are painting a piece with nicks and dings. It helps to hide those imperfections.
But you guys, as the paint dried it got much smoother! I love it because it still has a bit of texture, but it’s definitely much smoother than rolling. It has a matte eggshell-like finish which I love.
Not to mention, painting this bigger piece went A LOT FASTER!
So spray painting vs rolling Beyond Paint? My vote goes with spray painting! I’ll definitely be doing this again.

Finishing Touches
Okay, we’re not done yet. After my piece dried overnight, I had to go in with the finishing touches.
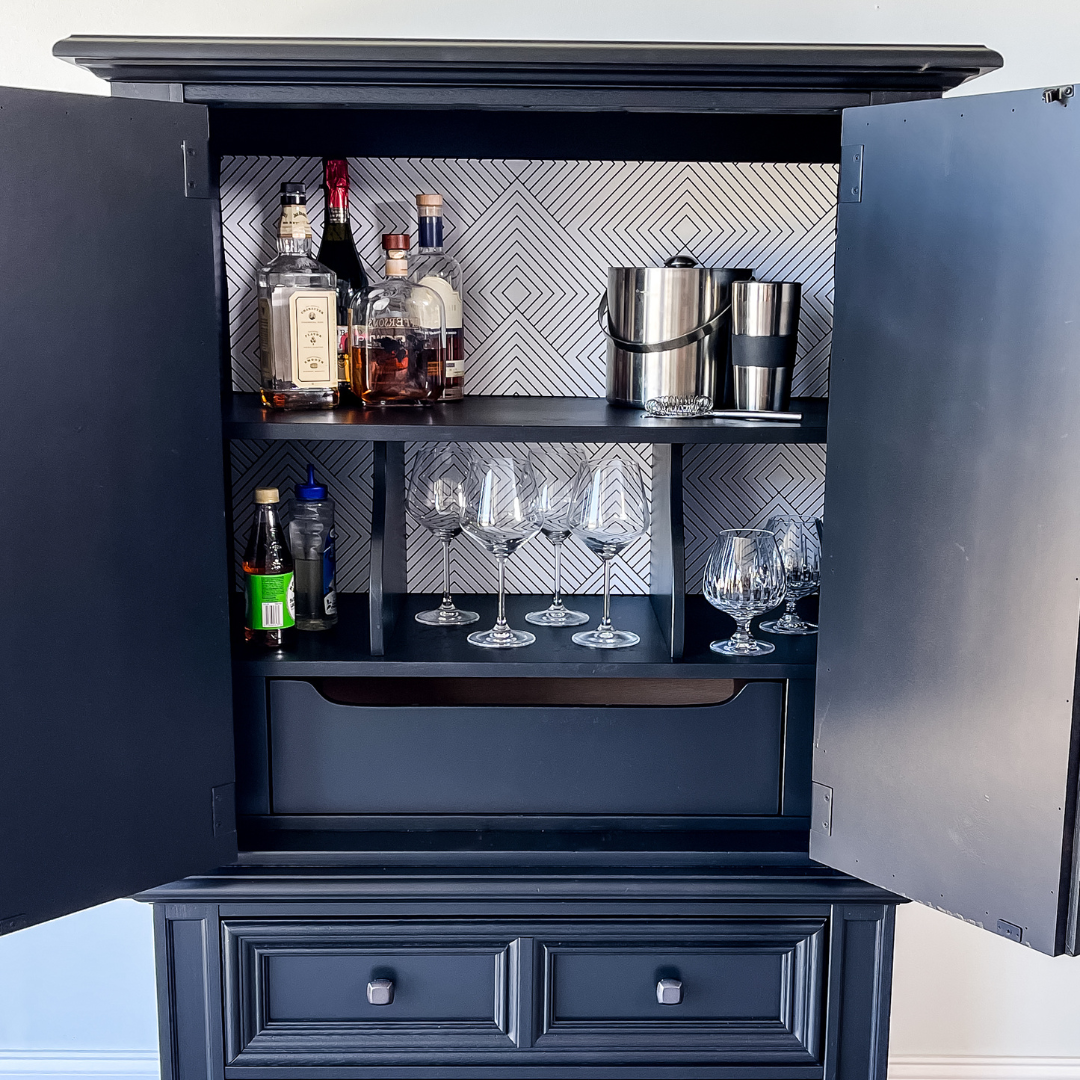
First, I have this really fun Wallpaper that I wanted to put on the back of the inside of the armoire.
I also had to fix one of the little magnet hinges on the piece for the armoire doors. Those are super easy to replace, and you can find this piece at any hardware store.

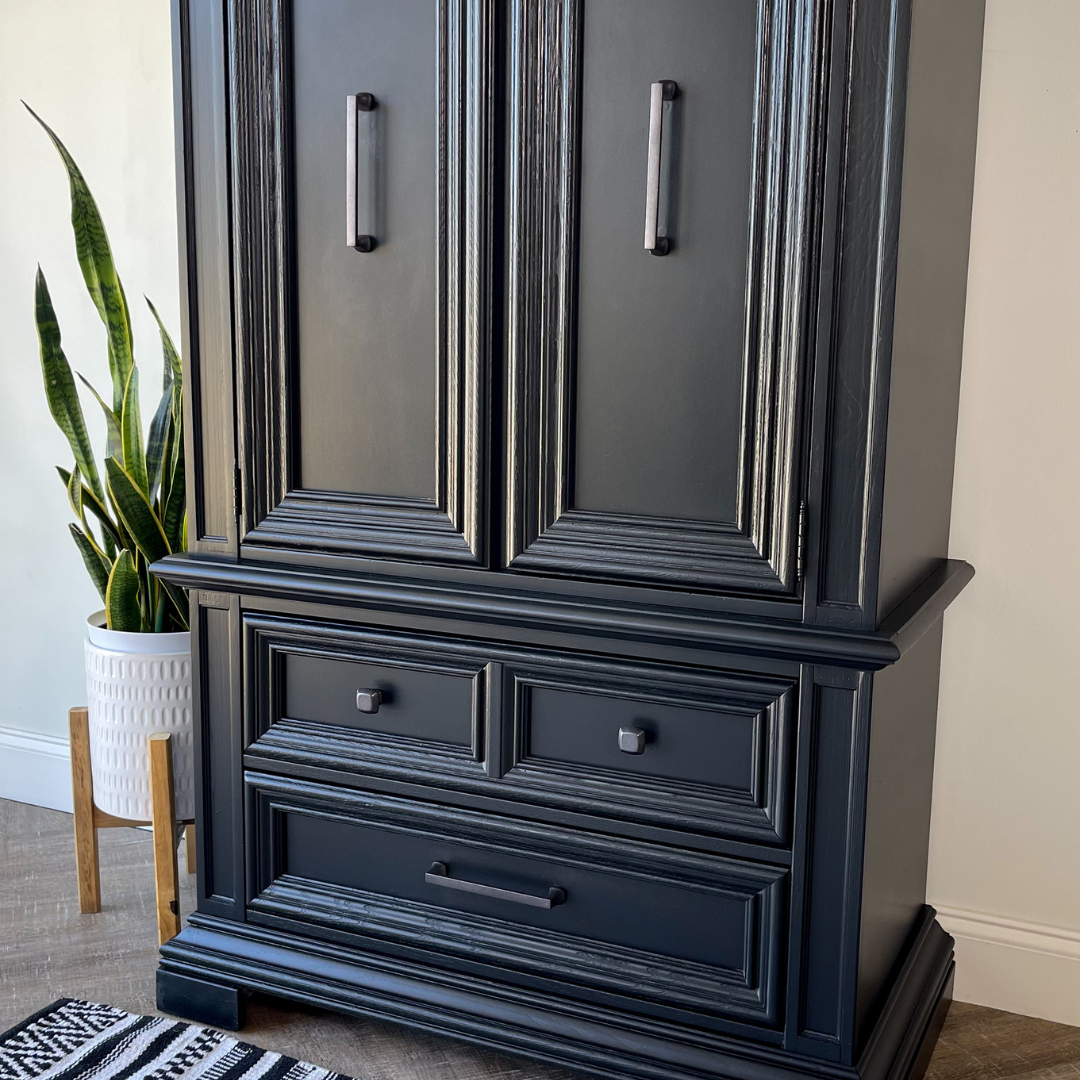
And lastly, I’m putting in my new hardware. I’m going for a monochromatic look. Instead of using jet black hardware, I like to accomplish this look by getting cocoa bronze hardware (Drawer Pull & Knob). It blends in and gives it all a cohesive look. So after I drilled new holes, I installed the hardware.
Spray Painting Beyond Paint Reveal
I really love how this turned out. Spraying beyond paint was a lot of fun. It went so much faster, and I do still have a little bit of texture. But it's a lot smoother than when you use a roller. So I would definitely recommend it if you're brave enough to try a sprayer.
Thank you guys so much for joining me today! If you want to see even more details on how to spray Beyond Paint, check out the full YouTube tutorial here.
Until next time!