Customize Furniture from Amazon: Cricut & Lilly Moon Paint Makeover
Disclosure: This blog contains affiliate links. I will receive a commission for items purchased through these links at no extra cost to you. I appreciate your support. Please read all labels and follow all manufacturer safety recommendations when working with paints, stains, and other equipment.
So if you’ve seen any of my YouTube videos or have browsed this blog, you are used to seeing me take thrifted or old pieces of furniture and making them over. But what I love about today’s project is that I’m going to show you how to affordably customize furniture from Amazon with some Lilly Moon Paint and Cricut Vinyl.
What’s super fun is that you can replicate this piece EXACTLY if you want to, or you can put your own spin on it. So let’s get to customizing!
Before jumping into it, check out the Amazon Mid Century Modern Dresser that I got for just $279.

Products Used in this Amazon Customized Furniture Makeover
Amazon Mid Century Modern Dresser
Zinsser 123 Bullseye Primer Gray
Best Of Zibra W Top Coat Paintbrush Kit-5 Piece (code CHRISTINA10 for 10% off)
Lilly Moon Paint Black Lace (use PRETTYDISTRESSED10 for 10% off)
Lilly Moon Paint Topcoat (use PRETTYDISTRESSED10 for 10% off)
Purchase & Customize Furniture from Amazon
Purchase Amazon Furniture
As I mentioned, I purchased this piece from Amazon for just $279, and (in Amazon fashion) it was delivered to my door in 2 days. My plan for this piece is to use a custom Vinyl, almost stencil, like look on the top two drawers, and then I want to paint the body.
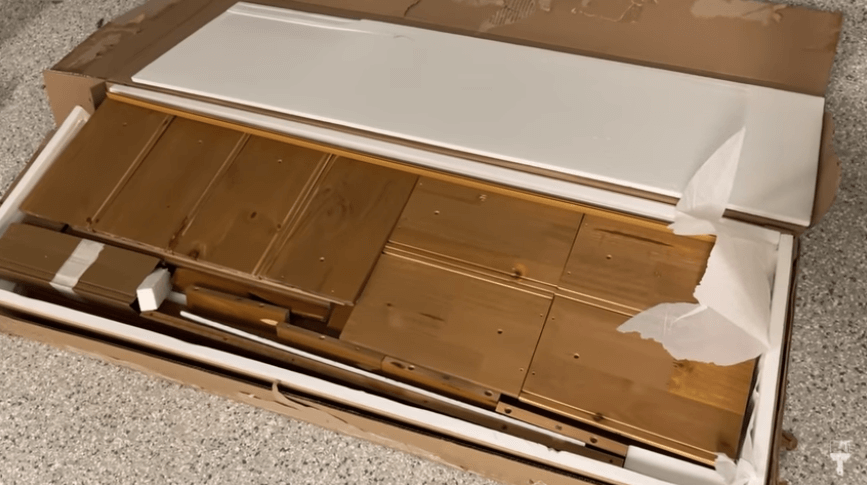
Build it
This was very similar to a piece of Ikea furniture. It came in a flat box, and I had to build the whole thing. I found it pretty easy to put together, although it did say not to use power tools… but I have to tell you… if you put this thing together with a screwdriver, I think it would take forever and be pretty hard.
So I broke the rules and used my drill… I just moved slowly and was careful not to crack the wood.
Clean it
Since this piece is brand new, it’s pretty clean, but I wanted to make sure it was free of dust or any oils from people touching it or from me putting it together. So I cleaned it with some Simple Green and then rinsed it with some water.
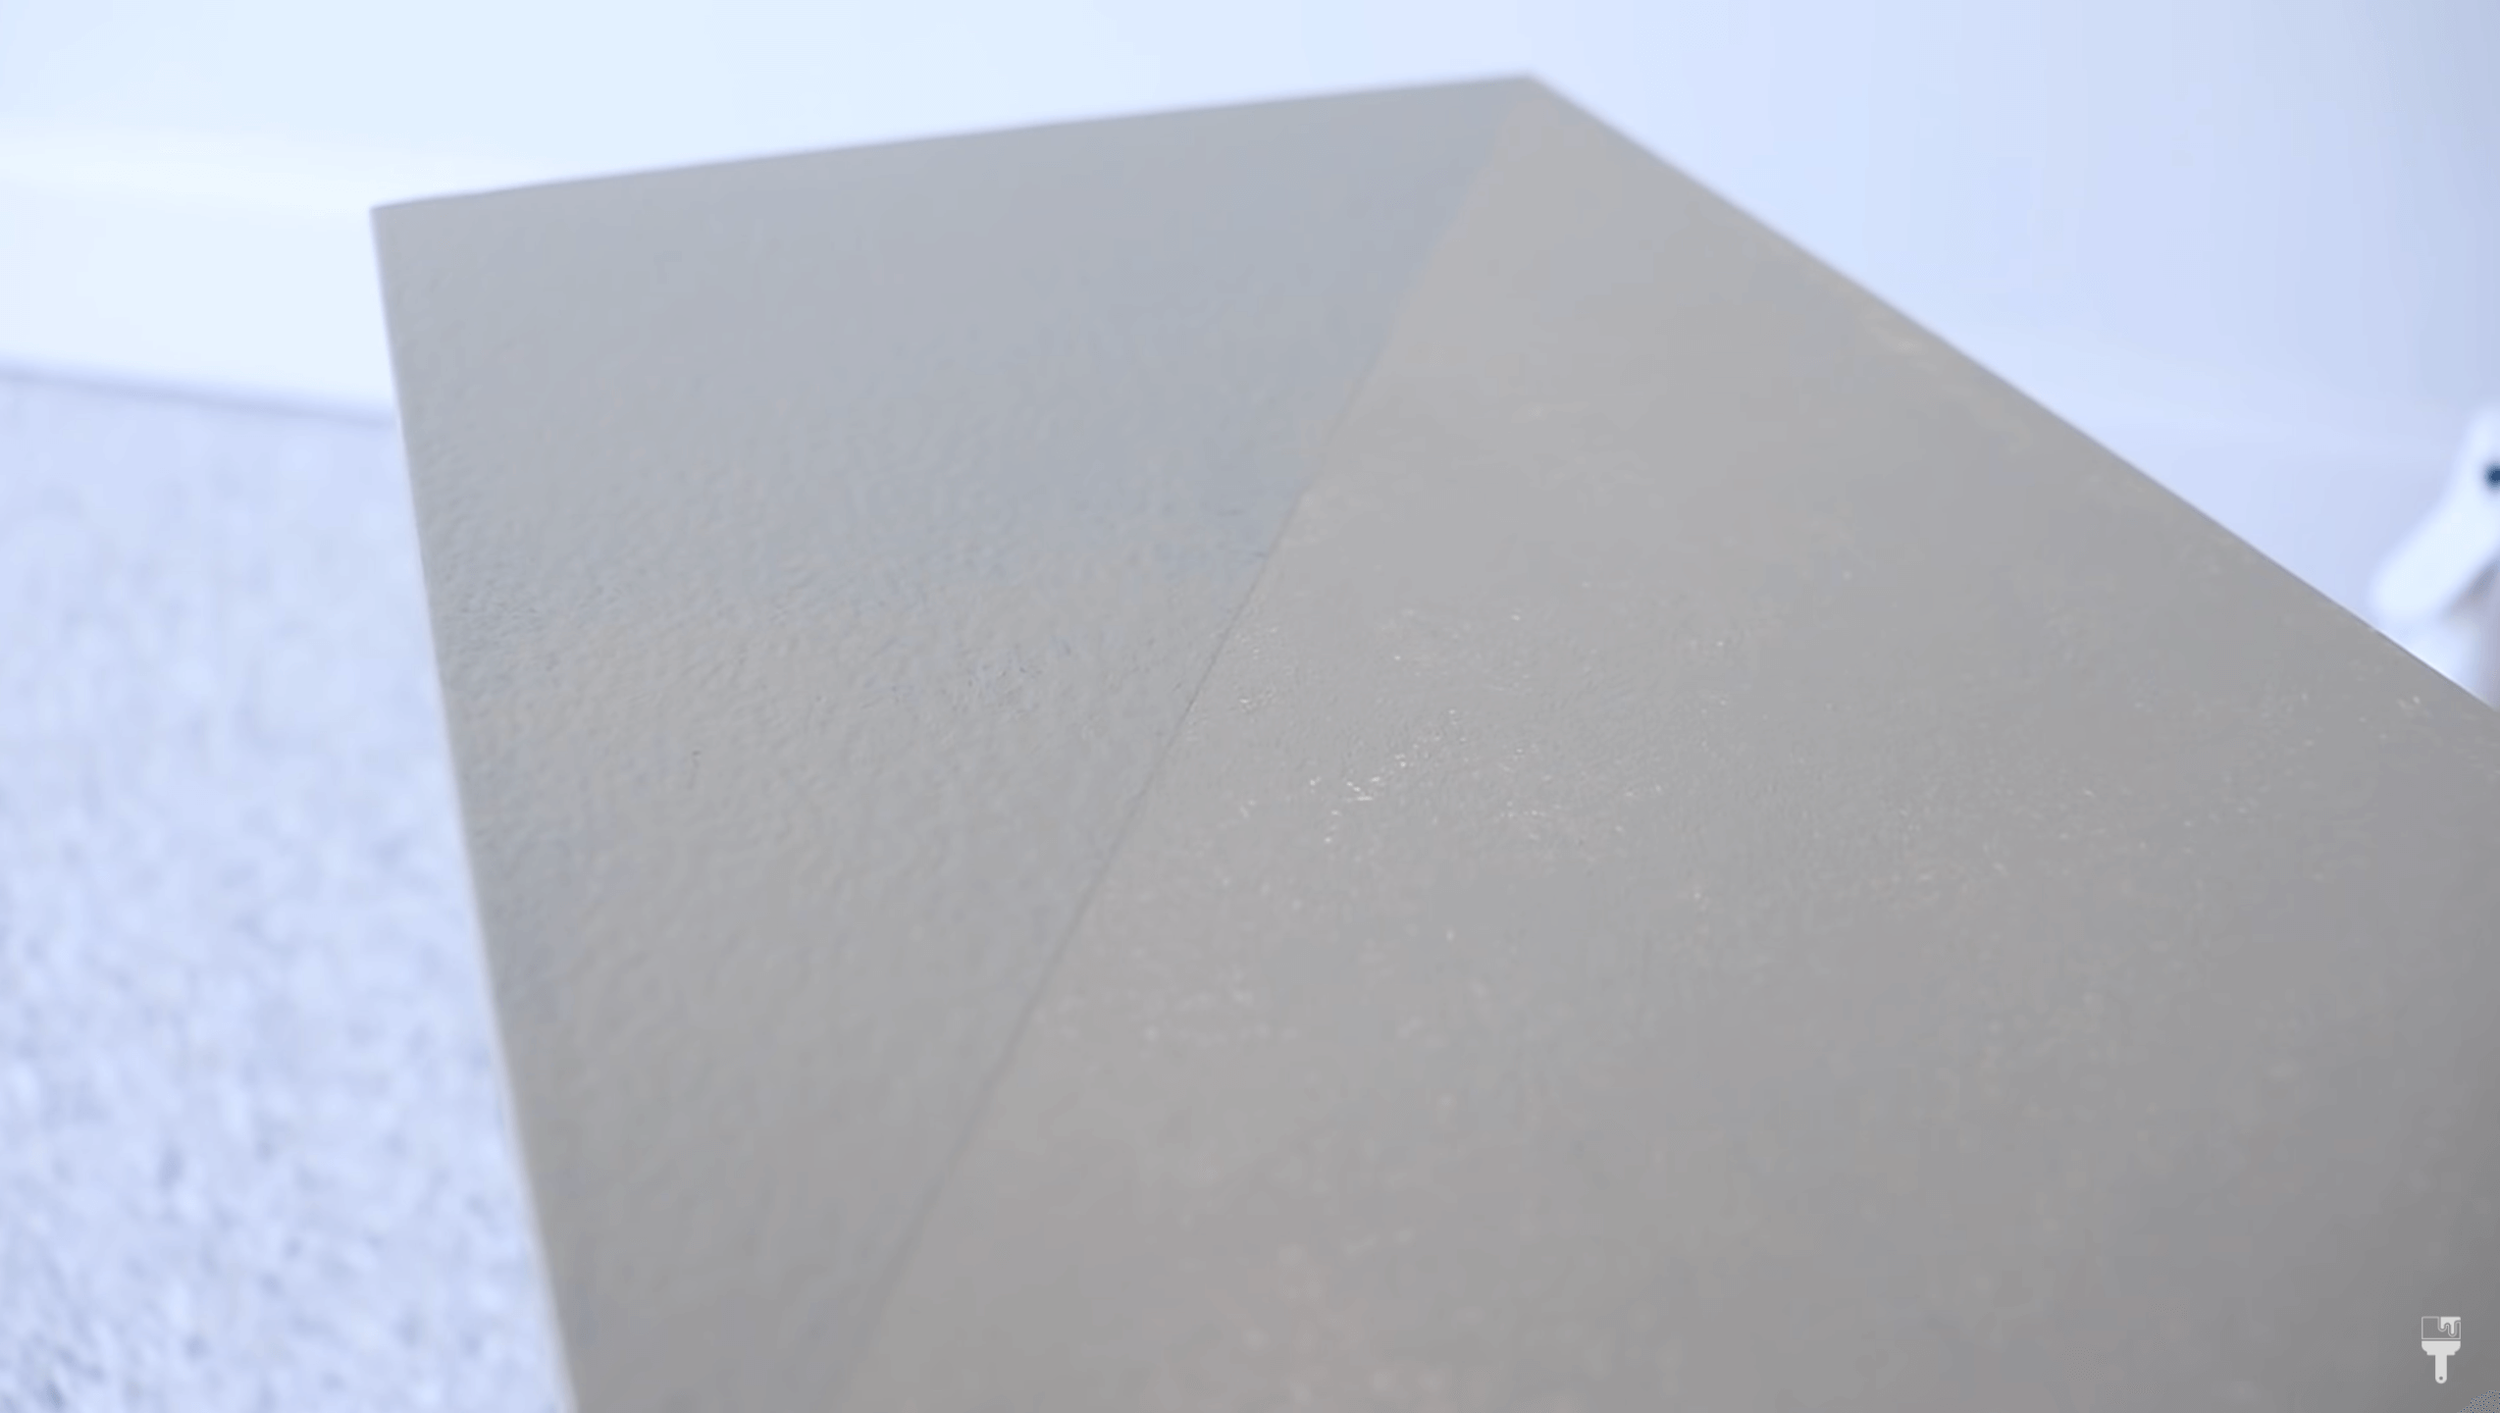
Prime it
Because I want to paint the top and frame of this piece, I’m going to start with priming it. It has a really slick factory finish, so I wanted to help my paint out by giving it something extra to adhere to. I'm going to pull all the drawers out and start priming.

You’ve seen me use the Zinsser 123 Bullseye Primer before, and I really like this primer specifically because it's water-based and cleans up really easily.
It will help with the adhesion on this really shiny factory finish. I've grabbed the gray color because I'm going to be painting this black and using a gray primer is really going to help with the coverage. Before I get my primer on, I taped the legs because I want to keep the base and drawers natural. I think it’ll be a really nice pop to contrast with the black paint.
Customize Furniture with Vinyl: Cricut Maker 3
More about the Cricut Maker 3
I recently did a No Paint Furniture Makeover With Cricut Smart Vinyl, and I LOVE the way it turned out. So using my Cricut Maker 3 again to make custom stencils for the top drawers of this piece.
I’m going to brag about my Cricut Maker 3 for a minute because you can do so many things with it.

I've made custom shoes, shirts, and little bags. I do fun projects with my kids all the time. You can make signs, cut veneer, iron-on Vinyl, and so much more.
If you're new to Cricut, they make it super easy to use this machine. They have an app called Cricut Design that you can download right to your phone or your iPad, and they have tons of projects, fonts, and images in there that you can use. And if you subscribe to their monthly subscription called Cricut Access, you get even more images, more projects, and more photos… all for one low price. So you should definitely check that out.
Measure it

One thing I love about using the Cricut for furniture is that I can customize it. So I'm not dealing with making a stencil fit on my drawer. I get to measure out my drawer and then put those exact measurements into my Design Space canvas to cut out.
Design it
As I said, in Cricut’s Design Space, you can browse for different patterns, and I found a cool looking pattern that I really liked for this project. The pattern was pretty small though, so I duplicated it four times and welded it together. After that, I was able to expand it to the size I needed for my drawer.

Cut it
So another thing I love about the Cricut Maker 3 is that you don't have to have mats. You can use Smart Vinyl that has a backing on it already and can load right into the machine.
To cut the design, you just load it into the machine and send it from Design Space to the Cricut to cut. This machine is SMART! It checked that I had enough material to cut before I pressed “play.” After pressing play, you watch the magic.

Weed it
So after your machine cuts the vinyl, it’s going to look really boring. It’s not until you weed your design (peel back all of the negative space) that you see it come to life.
Also, a quick shout out to the Cricut Roll Holder! It makes it so easy to cut your vinyl so that you get a nice even cut.

Transfer it
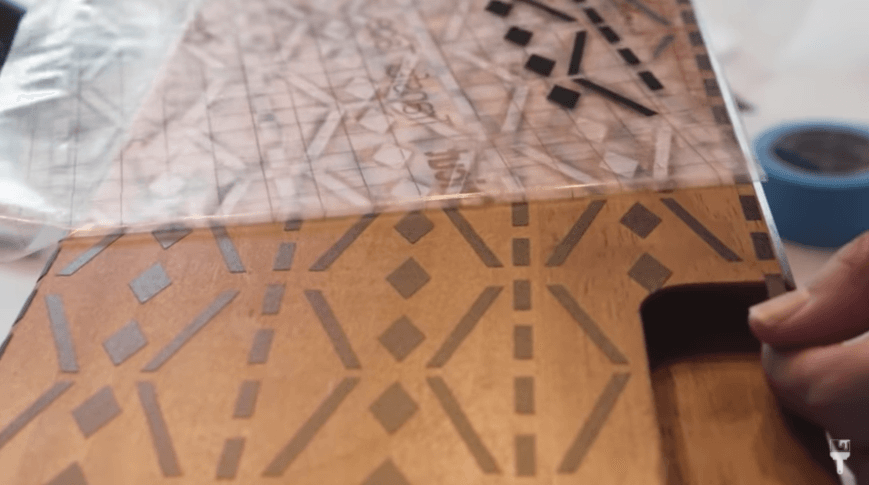
This is the super fun part. We’re going to transfer our design to the furniture, and to do that, we need our transfer tape. All the transfer tape does is pull our design from the backing that it’s on and allows us to transfer it over to its final destination.
To do this, cut the transfer tape to the size of your design and place it sticky side down. Use your scraper to burnish your transfer tape to the design. Burnish is just a fancy word for “making it really stick to the transfer tape so that you can pull it up off the backing.” ;)

Since this is such an intricate design, it was a little bit more challenging to get my backing off. If you’re in this position, just peel the transfer tape back slowly, and if you see any pieces not pulling up, use your scraper to burnish them a little bit more.
Before I put my transfer on, I wanted to make sure my drawer was really clean and free of oil, so I used a little bit of rubbing alcohol and lightly wiped down the surface.
Now for the final transfer! As you’re transferring the design onto your furniture, you just want to make sure you get it lined up the way you want it and avoid touching the sticky side of the transfer.
Okay, guys… I am IN LOVE with how this turned out. It looks so amazing and crisp… much cleaner than painting a stencil on.
I went ahead and did this process all over again one more time for the other top drawer.
Lilly Moon Paint & Topcoat
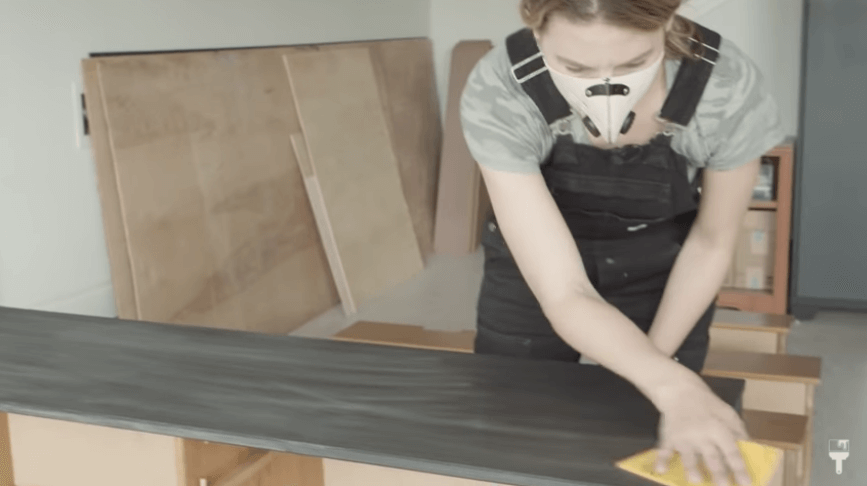
The Zinsser 123 Bullseye Primere primer dries pretty quickly, so by the time I was done with my Cricut project, my base was ready to paint. Before doing that though, I wanted to make sure I got a smooth finish in the end, so I went in with a very fine SurfPrep Rad Pad (about 400 grit) to sand it down.
Lilly Moon Paint in Black Lace

I had lots of black paints to choose from, but I decided to go with my Lilly Moon Paint Black Lace. I recently used this on some decor items and really liked it.
Normally I always tell you to paint with the grain, but since this is pine and it had such a smooth factory finish on it, you can’t see the grain at all through the primer. So I started out by going side to side from the shortest distance to keep my strokes nice and smooth.
I ended up doing 3 coats of paint this way making sure to use the super fine SurfPrep Rad Pad in between coats to get that extra smooth finish. The only thing I did differently when painting was change the direction of my strokes to make sure I got the coverage I was looking for.
Lilly Moon Paint Topcoat
Next is the topcoat. I typically suggest using the same brand of topcoat as the paint you used because they’re formulated to work together. So I decided to try out the Lilly Moon Paint Topcoat here.
To prep the topcoat, I went ahead and mixed in just a smidge of my black paint which is what I do anytime I’m putting a topcoat over a darker color. Don’t go overboard with this…just a smidge!

Just like I did with my paint, I used my super fine Rad Pad and sanded it in between coats. I grabbed my super fine rad pad. And I'm going to sand in between coats.
To apply the topcoat, I used my 3-inch Zibra Topcoat Brush. I love this one because it’s so big and gets it done quickly! And it’s really smooth, which is what I’m going for.
This is a water-based topcoat, so it is going to look really milky white as you apply it. It’s going to look crazy, but don’t freak out! When it dries down, that white cast is going to disappear.

Note: One thing I want to tell you guys about painting with black, especially in the spring and summer when there's lots of pollen and things floating around in the air, you will see little lint pieces in there. Try not to freak out too much about it. It's just the nature of using black. If you're really worried about it, I would suggest painting your project inside.
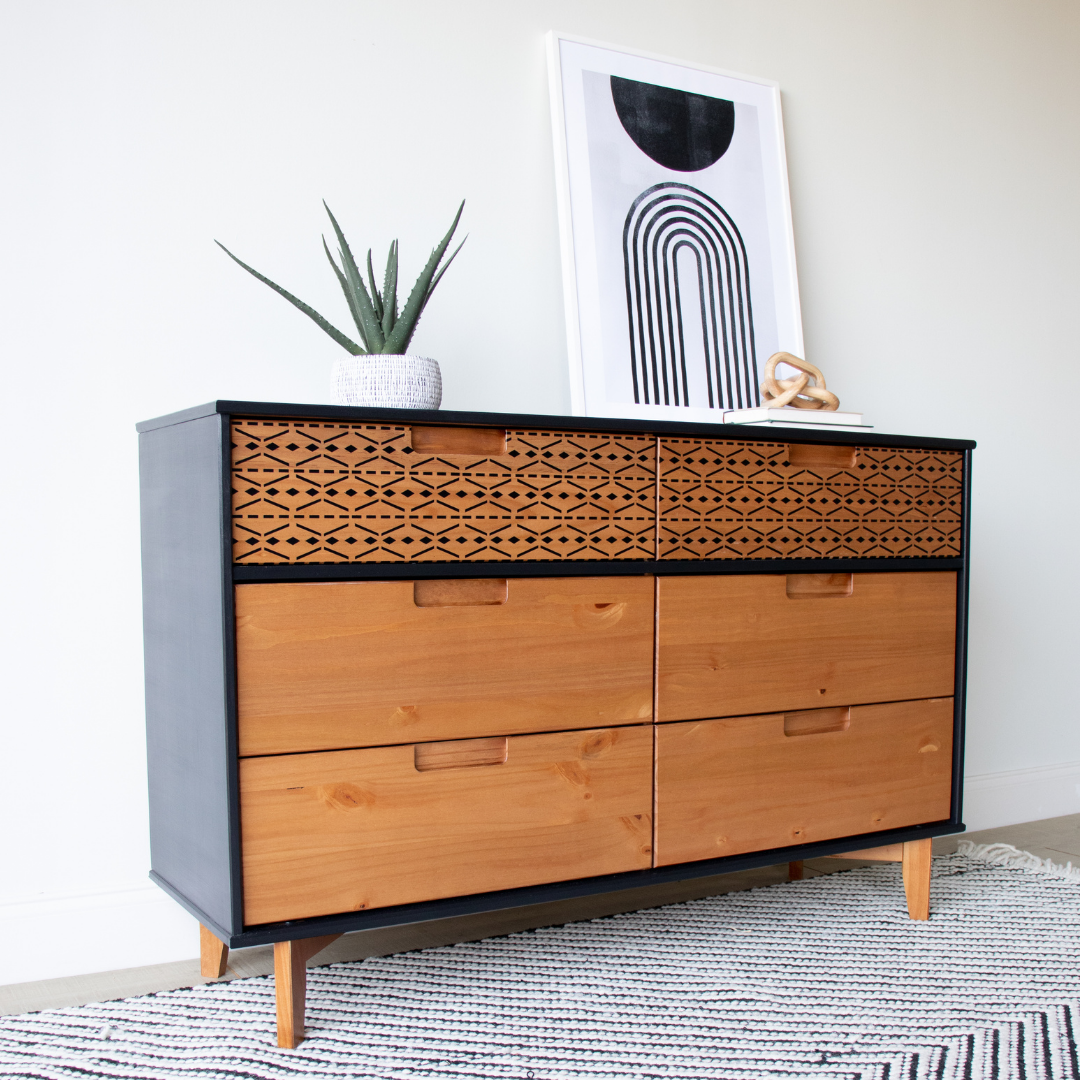
Customize Furniture from Amazon Reveal
This flip is finally complete, and I’m really in love with this makeover. It’s so easy to customize furniture, and it can be affordable too! And used my Cricut Maker 3 brought an element to the project that I couldn’t get anywhere else! Now that’s customization!
I’m going to be keeping this piece for my son’s bedroom. I love knowing that this piece is really sturdy being brand new!
Thanks for being here with me… and remember, you can always go check out any of my blog project over on my YouTube channel if you want to see them in action. → Check out this one here!
I hope you love this reveal as much as I do!