
Nightstand Makeover: Trash to Treasure Flip
Disclosure: This blog contains affiliate links. I will receive a commission for items purchased through these links at no extra cost to you. I appreciate your support. Please read all labels and follow all manufacturer safety recommendations when working with paints, stains, and other equipment.
I love a good trash to treasure moment, don’t you? It’s so satisfying taking an old beat up piece of furniture and giving it new life. For today’s tutorial, I have a pair of nightstands that are in pretty rough shape. They are from the 1950s! The veneer is chipping and lifting, it’s dirty, and it has water stains… but with a little bit of elbow grease and some repair, I know that I can make a brand new creation out of this beautiful pair. Let’s get to this nightstand makeover!
In this makeover, I’m going to be doing a lot of repairing, some color mixing with Dixie Belle’s Color Lab, and using my new Wanger Flexio 3500 paint spray gun. Before getting into it though, take a quick look at what I was working with. Here are my original 1950s nightstands.

Products for this Nightstand Makeover
Wanger Flexio 3500 Paint Sprayer (Detail Finish Nozzle)
Dixie Belle Chalk Mineral Paint (Midnight Sky)
Dixie Belle Chalk Mineral Paint (Collard Greens)
Dixie Belle Gilding Wax (Gold)
Surf Prep 3" x 4" Electric Ray (Use Code PRETTYDISTRESSED10 for 10% off your order)
Nightstand Makeover: Trash to Treasure Repairs
Cleaning
Before even getting to the repairs on these bad boys, I spent 2 HOURS cleaning it! These night stands were so dirty and the finish was failing. This is a good indicator that I need to get some primer on it. Not only will this block the stain, but it’s also going to help block the odor as well.
But first, we’ve got to do some repairs.
Failing Veneer

As I mentioned, I have a lot of chipping veneer, so I'm going to fill that with a wood epoxy, and I also have to sand down some of the finish and stained rings.
I’m also prepping the spots where the veneer is lifting. I grabbed a little Blunt Tip Syringe that I grab off of Amazon. I fill the syringe off with wood glue and stick it under the veneer to squeeze a little in there. Clamp it down and voila!
Aside from the lifting veneer, there were also some gouges in the pieces that needed to be repaired. I have a two-part all-purpose putty wood-filler to get the job done. When using this putty, you’ll be mixing the putty with a hardener. Once this hardener is added, it sets pretty quickly, so it’s best to work in small batches.
Sanding
Now it’s time for the sanding prep. Not only did I need to sand down the putty once it was dried, I also wanted to stripe down the tops completely. I also figured I could get away with just scuff sanding the sides.
I grabbed the 120 sandpaper and got to work with my Surf Prep 3" x 4" Electric Ray.
Oh my goodness, there was quite a bit of prep on these, and I’m really sad that I can’t keep this natural wood… but it really isn’t salvageable.
The last part of prepping before priming is taping off the base and legs. I really wanted to pay homage to the beautiful wood tone down here and keep the base natural. So I’m going to protect it from the paint.

The Wagner Flexio 3500
More About Wagner Flexio 3500
Time to prime! You’ve seen me use Wagner Flexio 3000 in my Paint Spray Gun for Beginners blog, but today I’m using their newest model, the Wanger Flexio 3500 Paint Sprayer. This upgrade is so much smaller and a lot lighter, so it helps so much with wrist fatigue as you’re painting your projects.
It still has a fine detail nozzle which is the best for furniture painting.
So I’m going to put the primer in here (draining it first) and give it a whirl!
Tips on Using the Wagner Flexio 3500

Dixie Belle BOSS Primer
Today I’m priming with Dixie Belle BOSS in gray. It’s important to use the gray primer instead of white if you’re going to be painting with a darker color. This primer is going to block odors, stains, and stop bleed through.
This primer takes about two hours to dry before putting on a second coat. But before moving onto the paint, it does need to dry overnight!
When I came back in the morning, I was super happy with my two coats, and because I want a smooth finish, I did a quick scuff sand before moving onto my paint. But make sure you wipe off the dust from sanding before moving on.

Dixie Belle Color Lab

I’ve used Dixie Belle’s Color Lab before to make the beautiful and popular Evergreen Fog. So I’m going to make another custom color today!
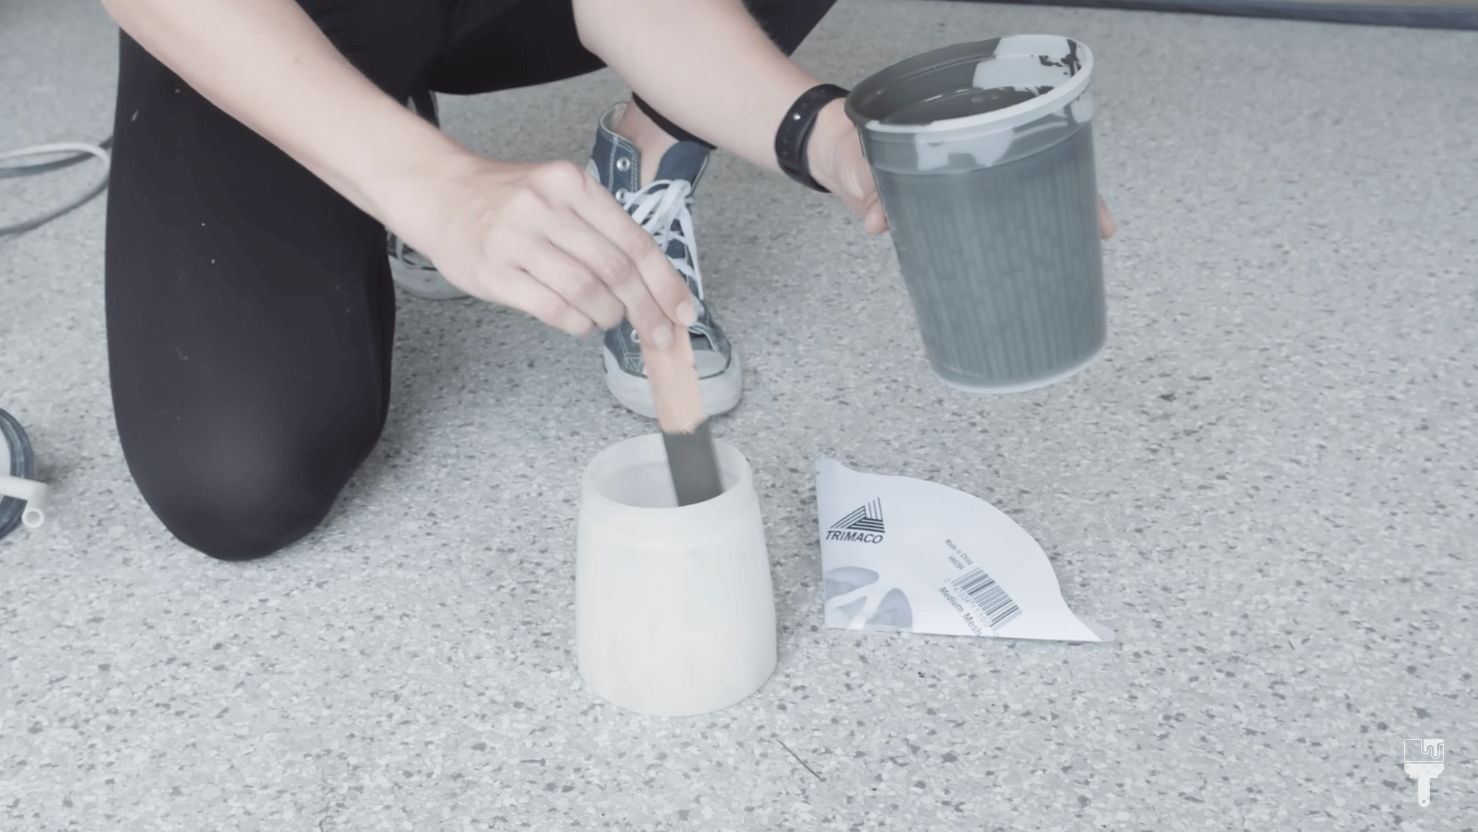
I’ll be mixing Collard Greens and some Midnight Sky to create the Urban Bronze. It’s so beautiful and moody… it’s going to look great on these nightstands.
I mixed 20 ounces of paint and added 2 ounces of water at first to thin it out a bit for the spray gun. I know the paint is ready when the worm lines disappear right away. The 2 ounces weren’t quite enough, so I added a little bit more and got it to the consistency I wanted.

I’m so excited because this color is looking so good!
Remember when spraying your paint, test first! I ended up doing 2 coats of paint making sure to let it dry and sand in between coats to emphasize that smooth finish.
Top Coats: Dixie Belle Gator Hide & Big Mama’s Butta
Now it’s time to apply the top coat. I really like using Dixie Belle Gator Hide because it’s their most protective top coat, and it’s really thin so it sprays well. It’s also a great choice for nightstands because it has water-resistant protection as well.
I know I'm a broken record on this because if you’ve seen any of my videos or other blog posts, I always talk about putting your topcoat over a darker color. Make sure to tint your top coat with a tad bit of your paint! This just ensures that your top coat won’t dry cloudy over the paint.
After applying my top coat, I wanted to revisit my base and legs again. So I removed the tape and grabbed my Big Mama's Butta in the scent, Orange Grove. I love using this wax to bring natural wood back to life. It’s also going to deodorize it and make it smell amazing.

Trash to Treasure Hardware: Gilding Wax
Now for some finishing touches. The original hardware was broken, so I found these beautiful knobs at Hobby Lobby. I love their antique look, but the color is just a bit off from the decorative hardware on the legs. To fix this, I’m going to use my favorite Gilding Wax in gold.
I used a little Artist Brush to apply the gilding wax on the knobs as well as the hinges on the legs to make sure they really match.

Trash to Treasure Nightstand Makeover Reveal
This trash to treasure nightstand makeover furniture flip is finally done, and I can't believe this transformation. I didn’t have much hope for these nightstands, but they turned amazingly! I think they’re going to sell really quickly! Thanks for joining me today, and remember, check out this full tutorial in action over on my YouTube Channel.
I hope you enjoyed this one!


