Painting Fake Wood: A Beginner's Guide
Disclosure: This blog contains affiliate links. I will receive a commission for items purchased through these links at no extra cost to you. I appreciate your support. Please read all labels and follow all manufacturer safety recommendations when working with paints, stains, and other equipment.
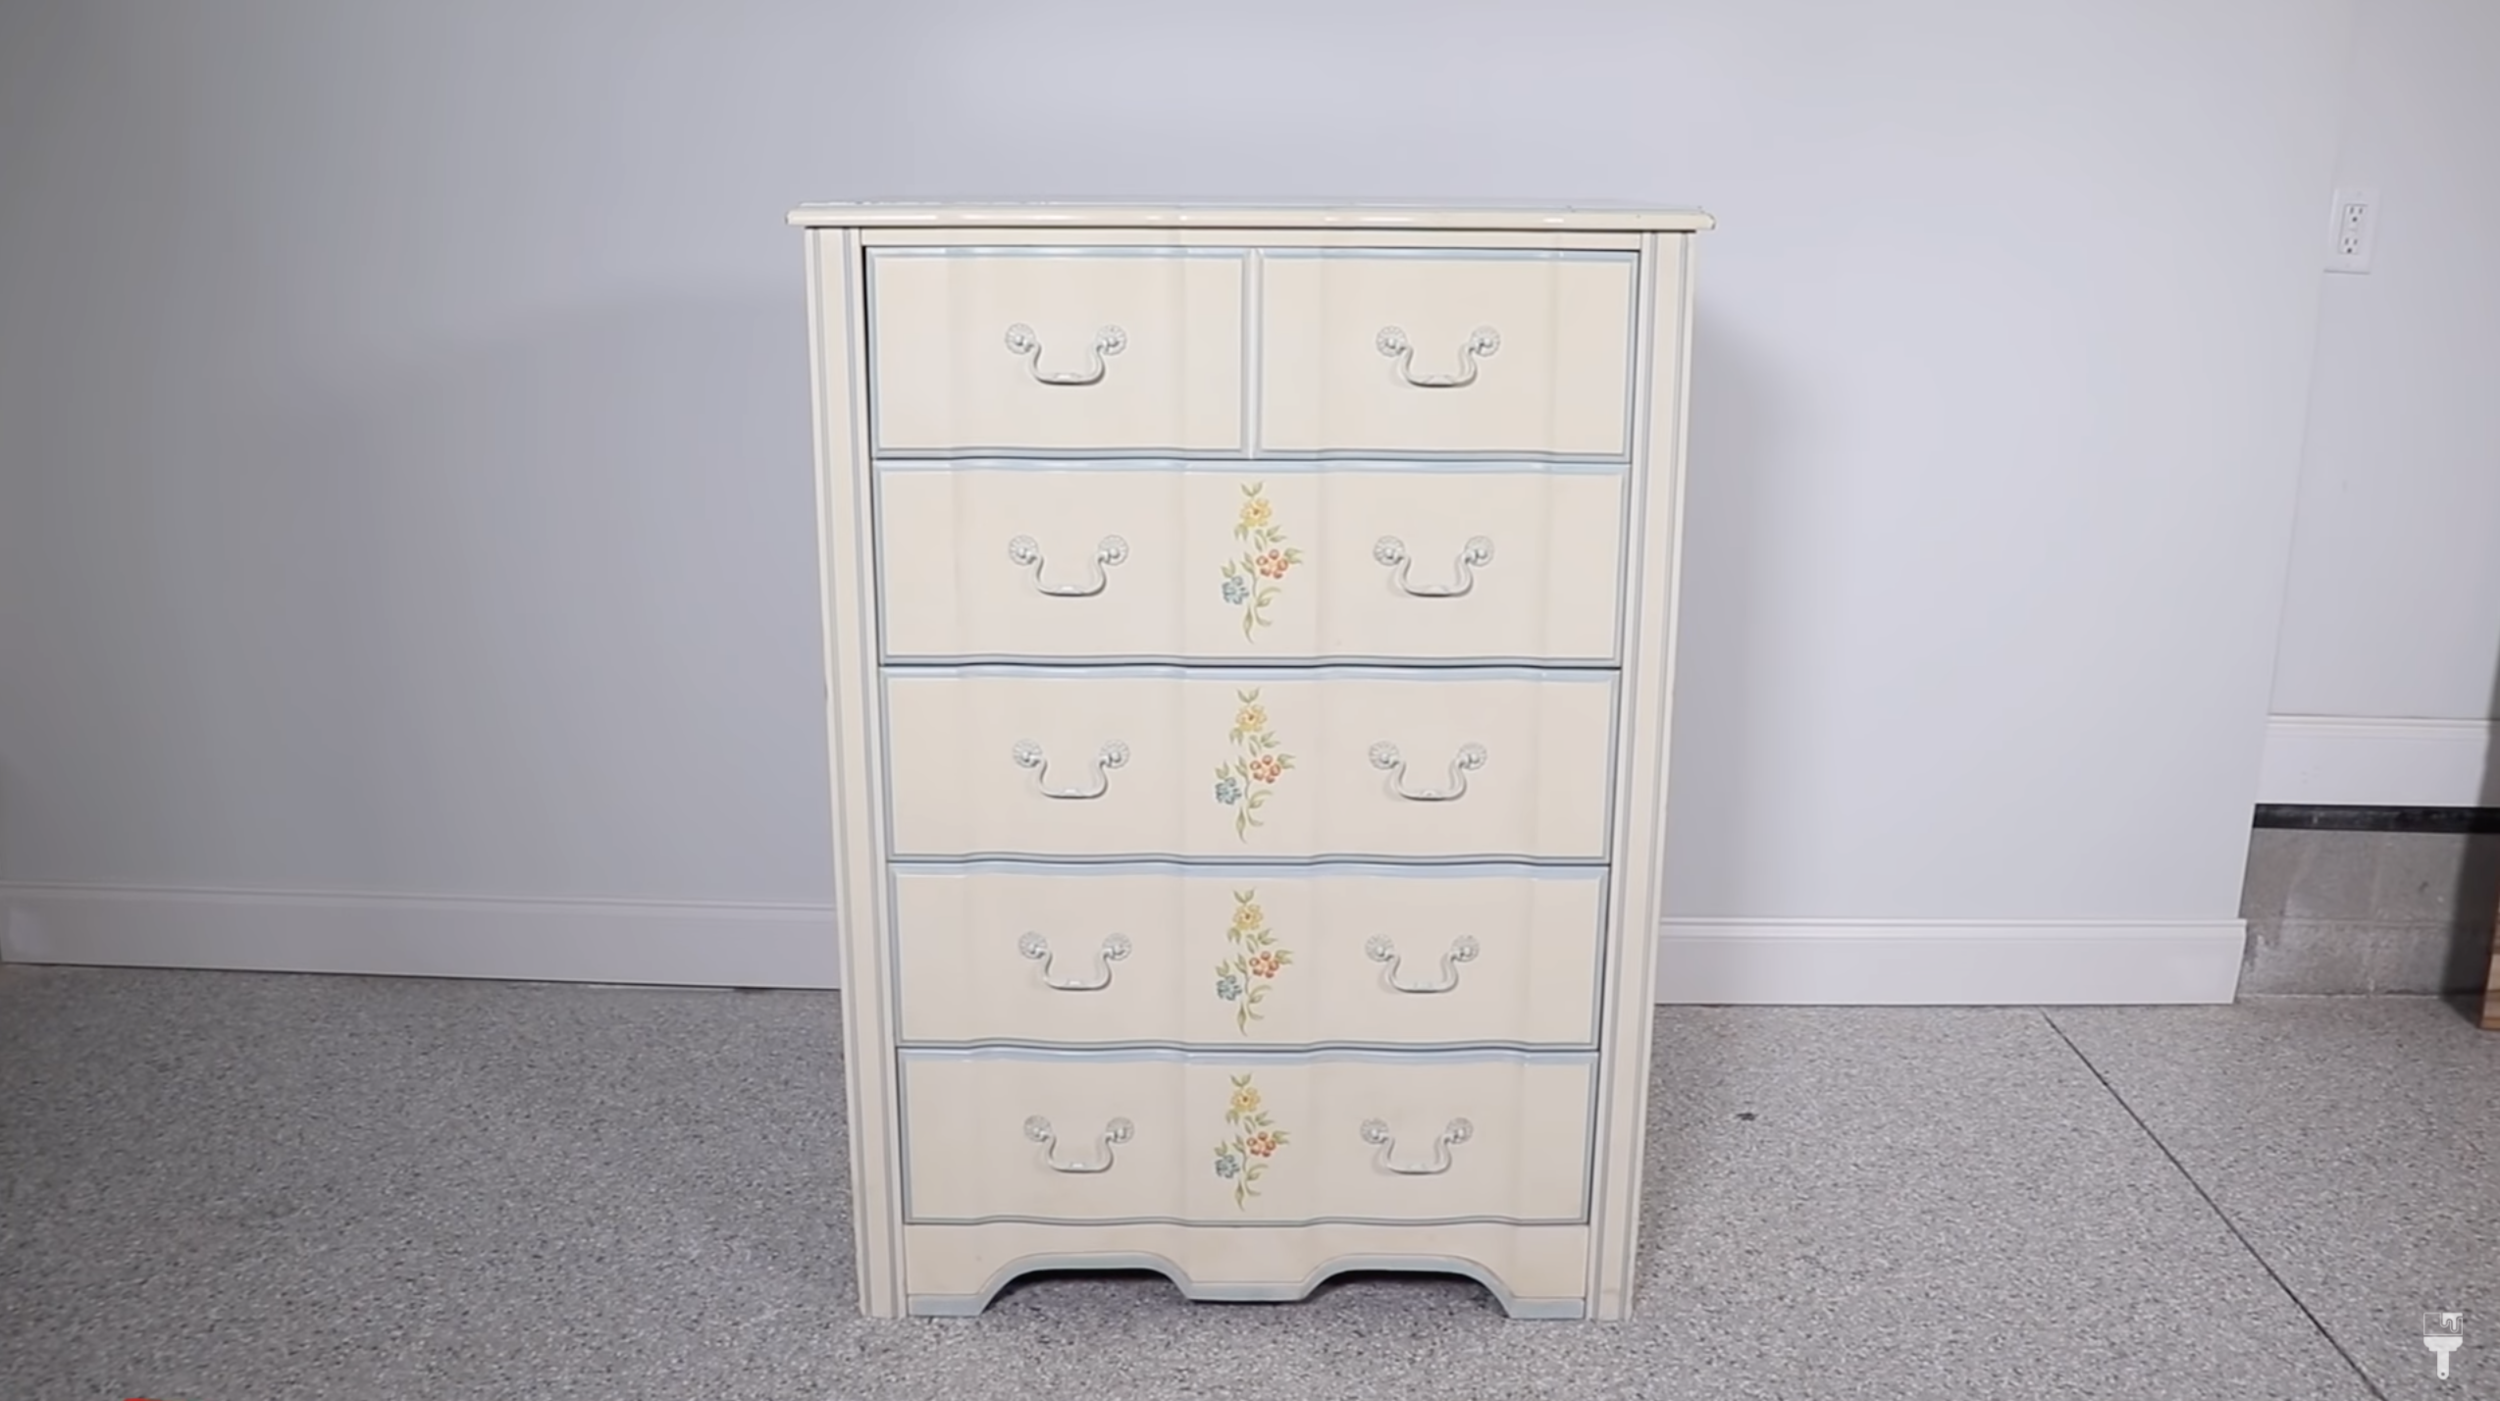
I’m super excited about today’s furniture makeover because it’s the perfect project for furniture painting beginners! A lot of inexpensive furniture that you may find out there on the market may have a factory finish like my piece today. So it’s important to learn how to paint furniture that’s NOT real wood.
I got the dresser that I’m refinishing today off of Facebook Marketplace for free. It’s a Stanley piece of furniture that’s very well constructed, but when sanding and inspecting it, it's particleboard.
I’ll be going into detail on how to prep for painting a fake wood piece, how to use one step paint, paint brush and brush stroke tips, and more awesome beginner tips. I also happen to be using all Dixie Belle products today, which happens more often than you’d think! ;)
But before we get into it, let’s take a look at this piece before we make some magic.
How to Prep for Painting Fake Wood

Before I get started painting with my all in one silk paint, I need to prep this piece. And there's three things that I need to do to prep this factory finish, to make sure that my paint is going to stick.
Side note about my piece: I’m going to be refinishing the hardware on this piece as well because the measurements are 3.5” which is not easy to find. So I removed the hardware and put it in a baggie for later. I also, for the life of me, couldn’t figure out how to remove the drawers from this piece. I would typically recommend removing the drawers for this whole project, so just keep that in mind for your piece.

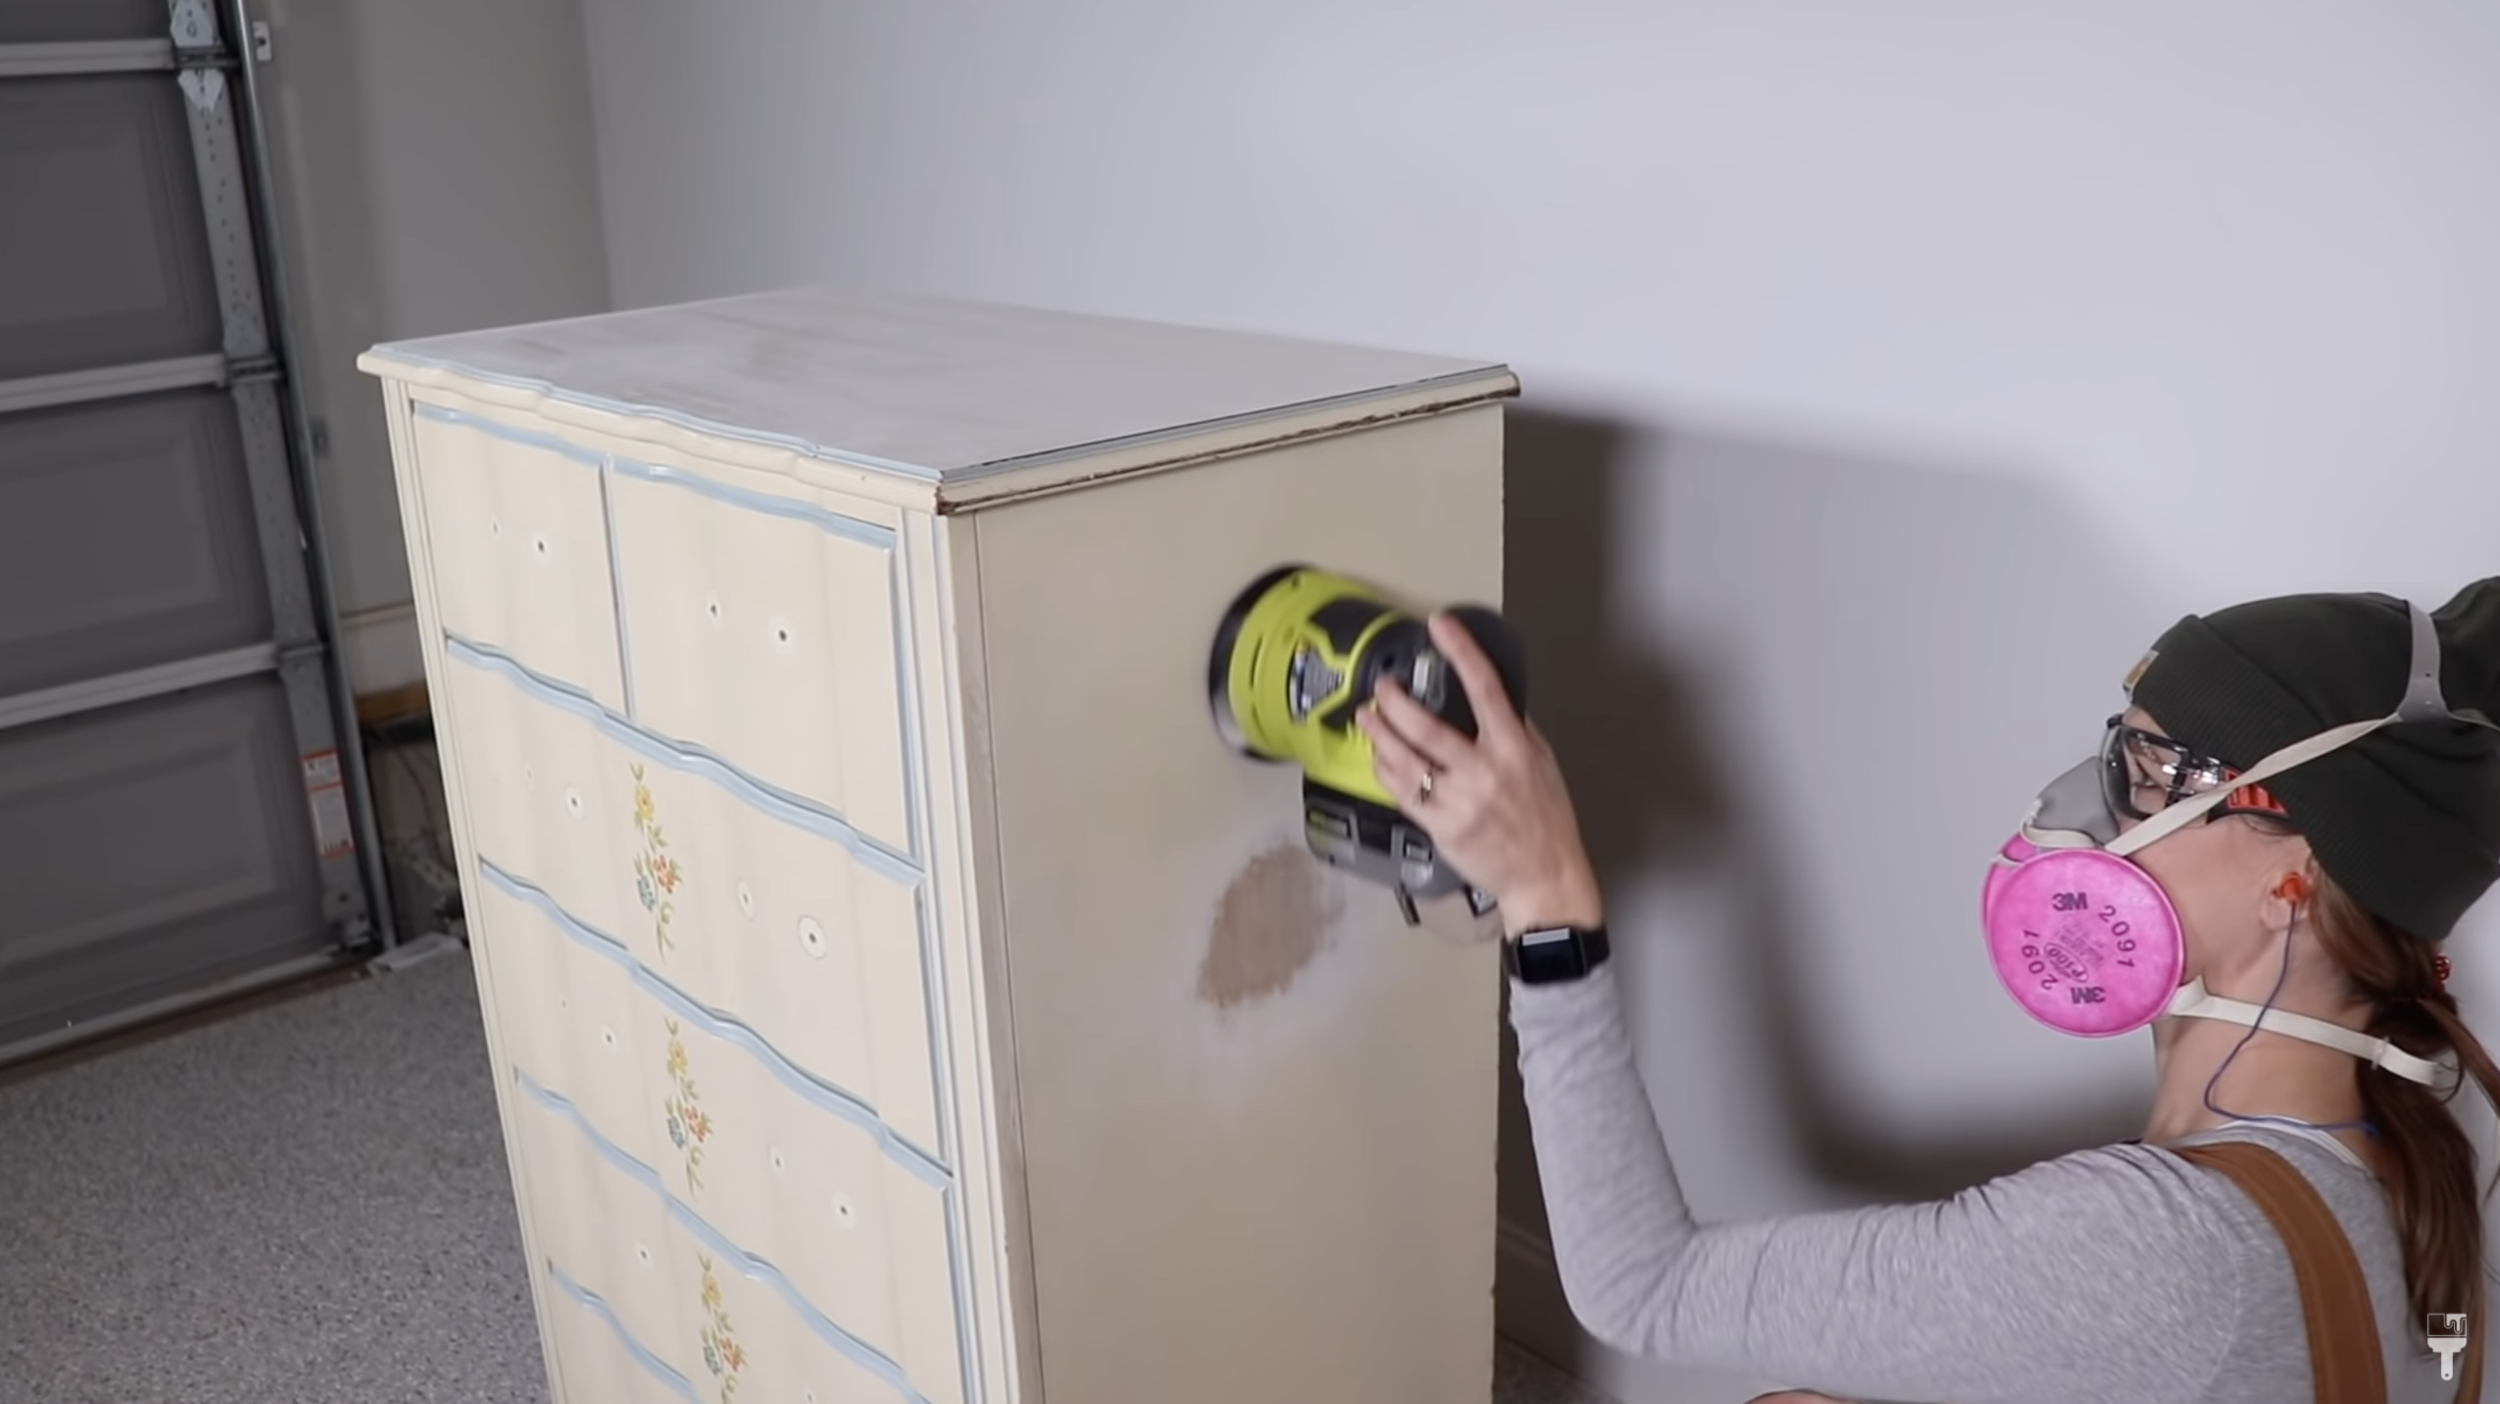
Step 1: Scuff Sand
The first step to preparing for painting fake wood is giving the entire piece a scuff sand. You can do this with 220 sandpaper, like a Surf Prep Rad Pad. If you have an orbital sander, you can use that as it will save you a lot of time.
I do have more expensive sanders, but I am going to do this as if I’m a beginner furniture painter, so if you're willing to invest the $50 in orbital sander, you can do that.
For my piece, I sanded down the decorative flowers because they were raised and textures, and I don't want to see that come through my paint.
Lastly, I just took a tack cloth and wiped away all of the dust I created with the sanding.
Step 2: Clear Acrylic Spray Paint
Now it’s time for step 2 which is sealing up an exposed particle board with a clear acrylic spray paint.
These spots would warp with any water-based primer or paint. So I want to make sure they're sealed up before I start after we sand everything.
Right before that though, I propped up my piece with some painter’s pyramids to make it easier to paint and help it not get stuck to my drop cloth.

Clean
Whether you need to seal your piece or not, make sure to give your piece a good cleaning with some Dixie Belle’s White Lightning.
White Lightning is powdered TSP soap that you can dissolve in a spray bottle with some warm water. Spray the entire piece, wipe it down, and then go back in to wipe away with clean water.
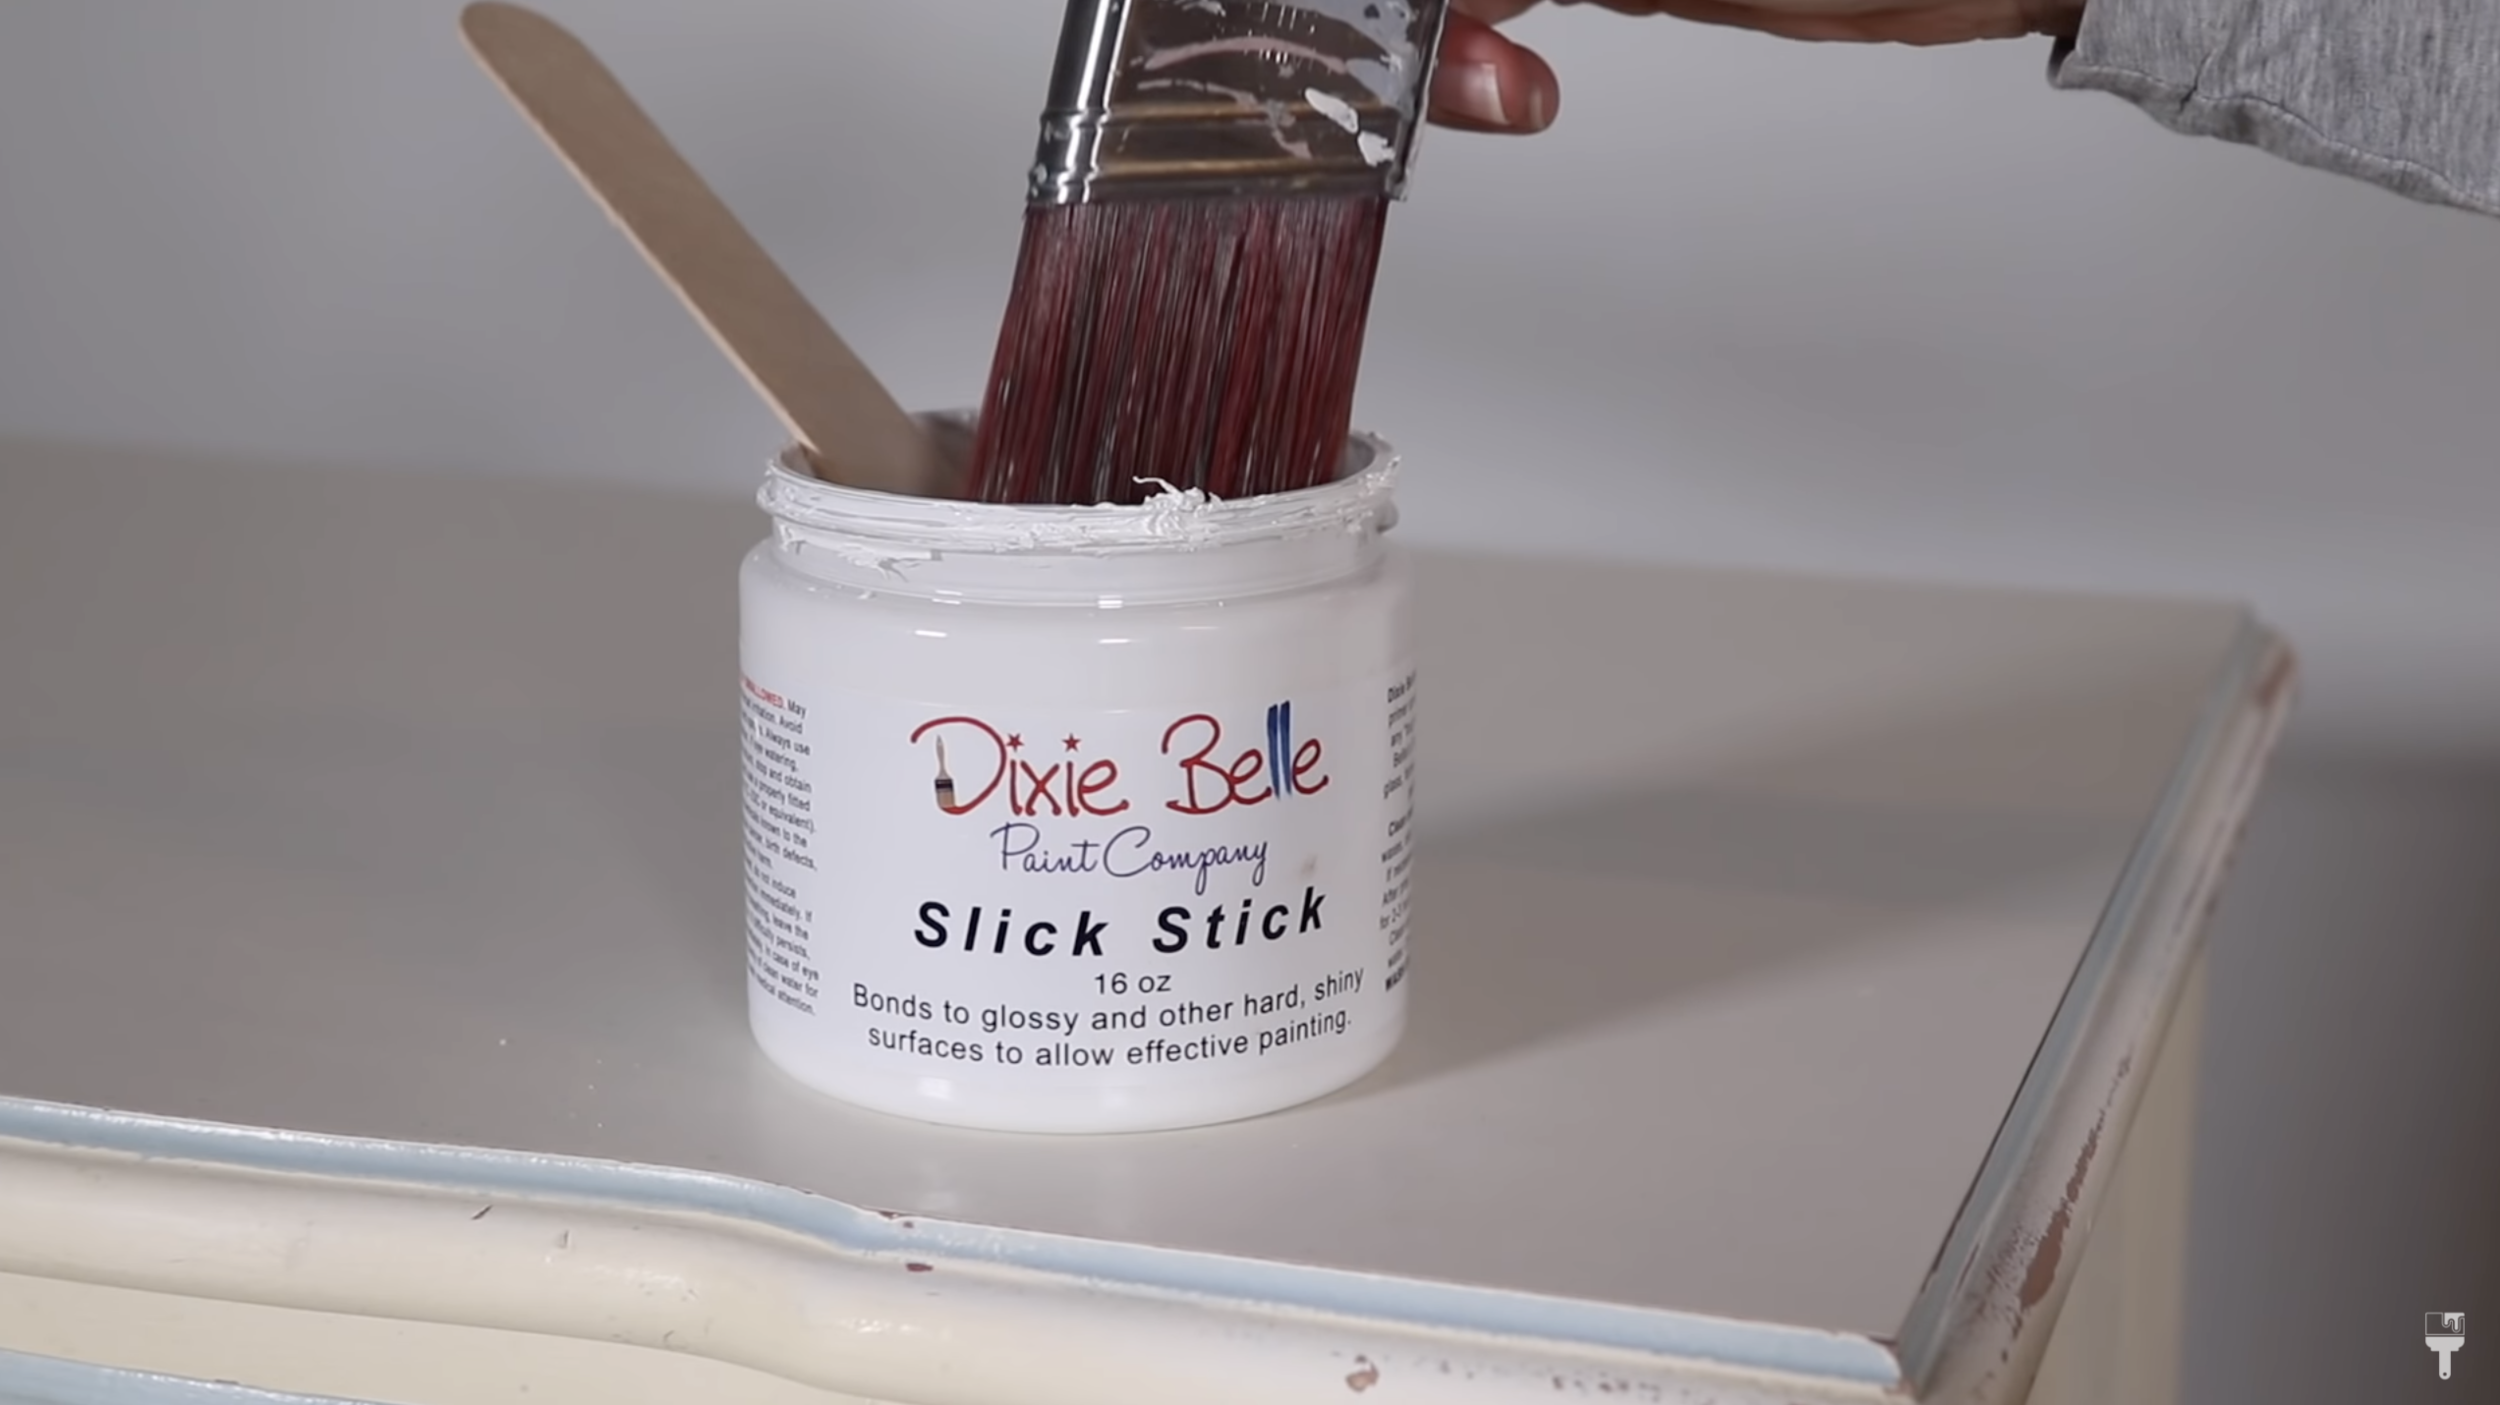
Step 3: Apply Slick Stick Primer
The paint that I’m using today does have a primer in it that will help with stain bleed through, but what we’re really worried about with a fake wood piece is the slick factory finish. We just want to give it something extra to help the paint adhere really well, and that’s what Dixie Belle’s Slick Stick is going to do.
1st Coat
So let’s get started with the 1st coat of primer. I applied my Slick Stick with my Synthetic Angled Mini Brush. This is the same brush I’ll use for my paint as well…it works great for both!
This first coat will dry in two to three hours.
Sand Primer
I always recommend sanding in between coats of primer and paint. So after the first coat dried I came back in to sand it with some really fine sandpaper.

2nd Coat
The second coat goes on just the same as the first one, but you do need to let that 2nd coat dry overnight to help it really bond and adhere to the piece before you add paint.
As I mentioned earlier, I think it's always a good idea to remove drawers, but I could not get these drawers out, so if you’re watching my YouTube tutorial on this piece, this is why you’ll see me painting with the drawers open.
Side Note: it is always a good idea to wear a respirator when you're sanding. I know that's a lot of prep, but it's all going to be worth it, because we're going to be saving with our all in one paint.
Paint with Dixie Belle’s All in One Paint
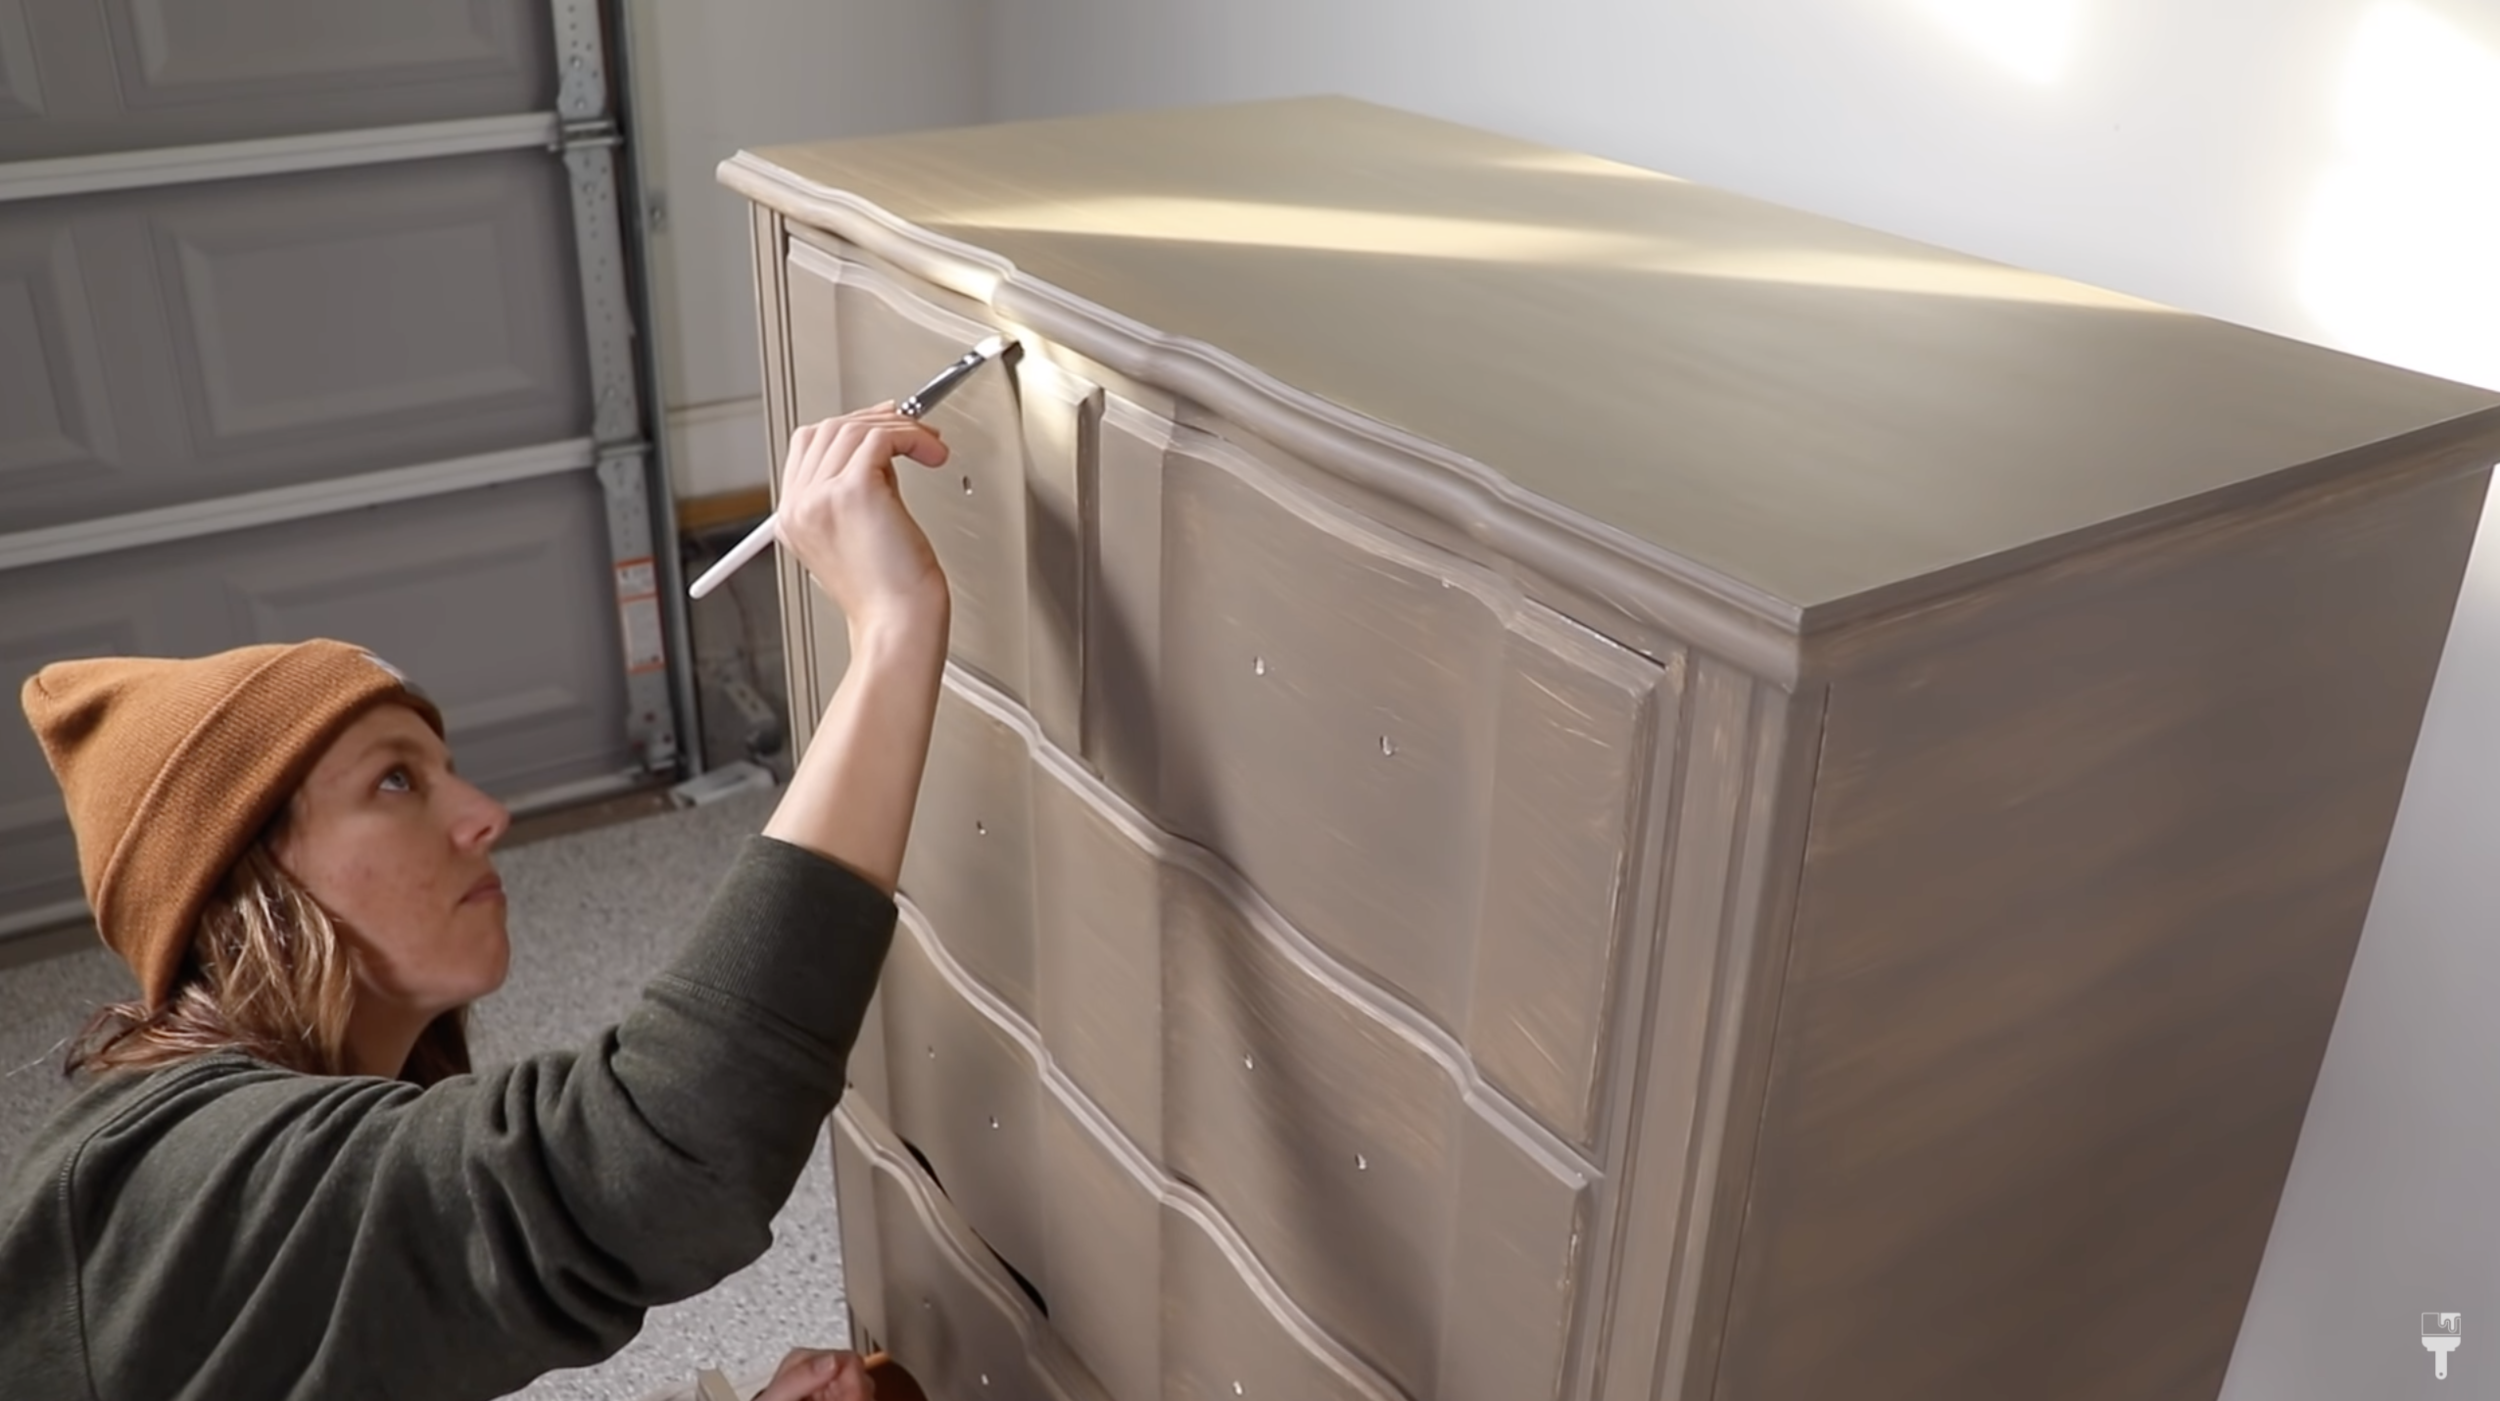
Once the primer dried overnight, I came back in and did that quick sanding and dusting off before grabbing my paint - Dixie Belle’s Silk All-in-One Paint in Hampton Olive.
I used the mini angled brush that I used earlier on the primer. You want to make sure you apply the paint with a dry brush. I cleaned it after applying the primer the night before and let it dry completely overnight as well.
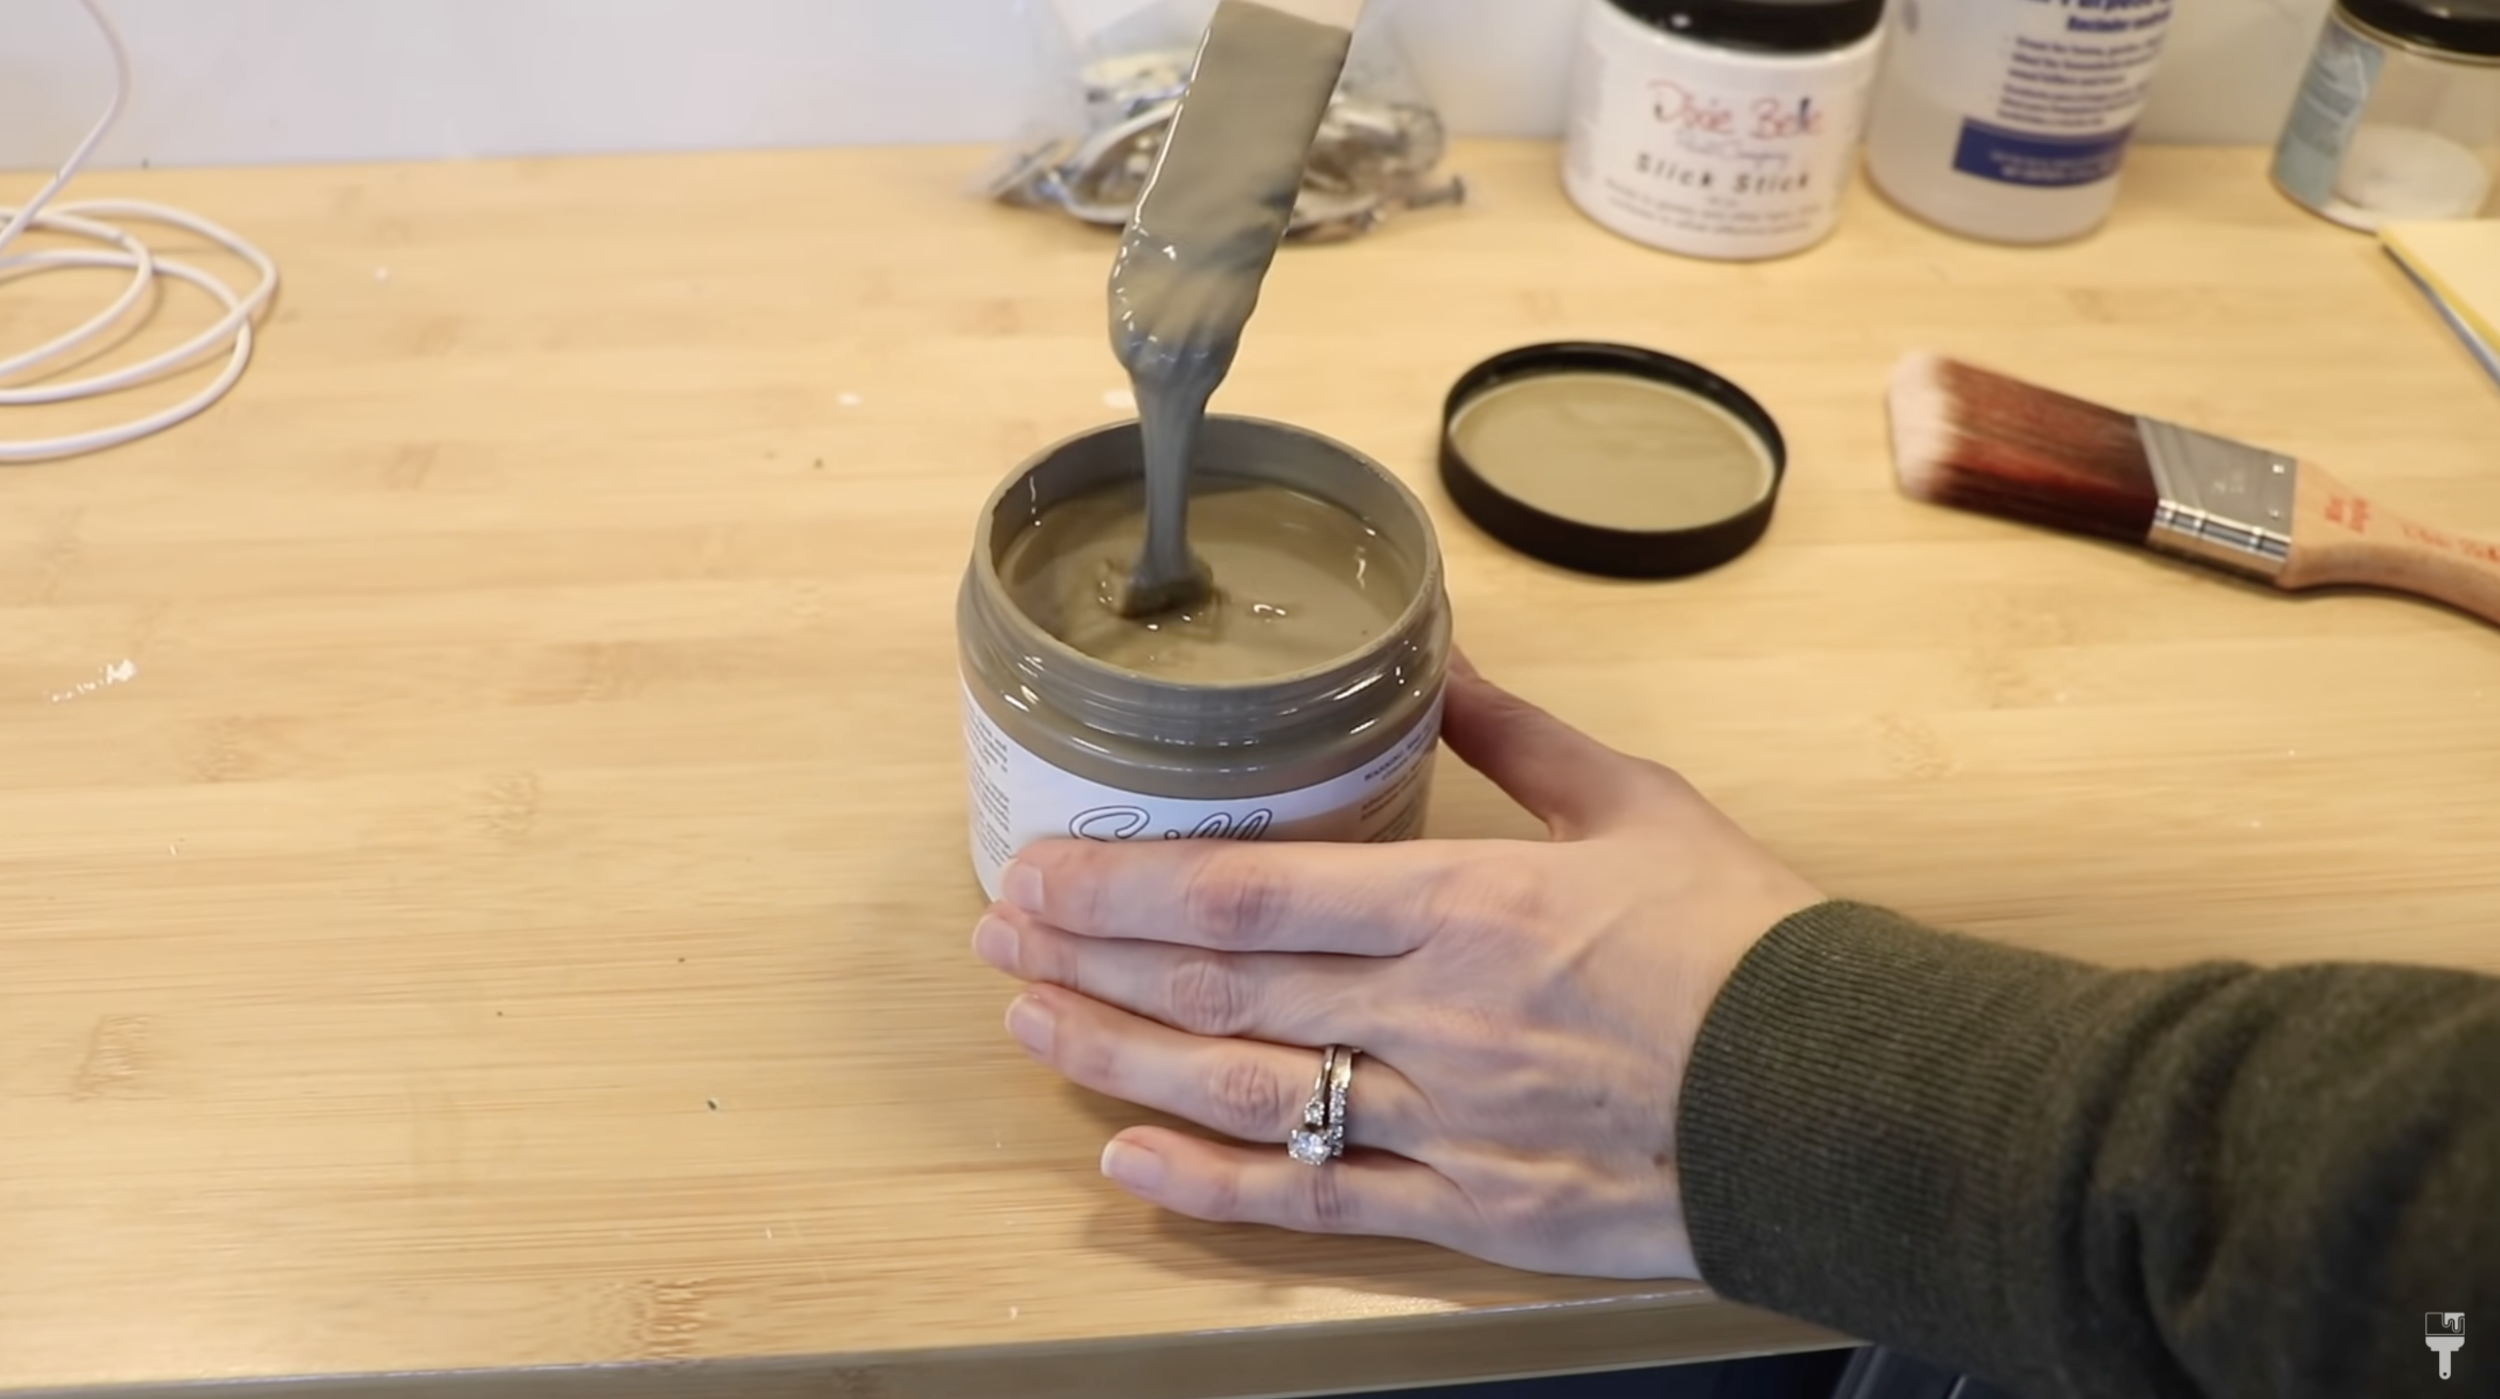
You need to make sure that your paint is stirred up really well. You don't want to see chunks, so keep stirring and stirring until it runs smooth (see images below).

Why I love All in One Paint for Beginners
The reason I love one step paint for furniture painting beginners is you don’t have to worry about choosing a topcoat because this has a built-in topcoat. It's going to dry to a low reflective, satin finish, and it has really great durability. It's easy to wash and clean once it cures.

I'm actually going to show you my daughter's dresser that I refinished a year ago. This thing is in a kid's room and it has held up… and it's white! I can't believe how good it still looks. So the proof is right here in my home, tested with my kids who beat things up. LOL. (Bonus! Check out the IG reel on how that kid’s dresser came to be)!
5 Tips for Painting Fake Wood Furniture
As I mentioned before, I wanted to make this tutorial as beginner-friendly as possible. So I wanted to give you painting tips if you’re new to this or painting furniture that’s not real wood for the first time.

Keep your strokes simple. Go back and forth without any crazy patterns. Back and forth is the trick. The only way you’re going to keep your paint brush-stroke-free is with a sprayer, so be patient and trust the process because it does level out as it dries. back and forth.
Paint in the shortest direction. Usually, I paint with the grain, but if you’re painting a factory finish piece like this, painting side to side in the shortest distance will help you get a smooth finish.
Watch out for drip marks when using a synthetic brush. To help with this, I like to start my strokes in the center of the piece and work my way to the sides. The sides/corners are where drips usually happen, so having less paint on the brush as you get to the sides helps with that!
Overlap about 20%. This is called a wet edge. When you’re done with a section, you want to start the next section by overlapping about 20% onto the newly painted section.
Don’t go back to fix imperfections. This is really important because it can be tempting to fix an imperfection that you see after the paint starts to dry out a little bit. DON’T DO IT! This will mess up your paint. The paint must be completely dry in order to fix it. And through the process of letting it dry, buffing it out, and painting another coat, the problems will fix itself. :)
Bonus Beginner’s Painting Tip: It’s always a good idea to keep small artist’s brushes on hand to get into the details or for touch ups.
Sand Between Coats
The first coat dried in about 2 hours, and the coverage was pretty good. But it was still a little spotty, so we needed to get that second coat on. And here is my pro tip. Sanding in between coats is always your best friend. It’s not necessary, but if you want a smooth finish, and have the patience to do it, I always recommend a quick scuff sand.
Finishing Touches

Hardware
Because the original hardware was a strange size, I decided to save some money and update it with what I had on hand. So I decided to go with a bronze gilding wax because I thought that would be a subtle option and go perfectly with the Hampton Olive Color.
To prep the hardware for gilding, I cleaned everything with white lightning and then rinsed it with water. You want to make sure there’s no grim or residue left on it. Since these were already painted, I can just go ahead and put the gild on top of that. I did test it out first, but it looks like it’s going to work.
If you were going to be going right on the metal, you could test it, but I’d recommend using Slick Stick on the metal so that your gilding wax has something to stick to. You can also gild over paint, so if you want to paint the hardware first and then gild it, you can do that too. But since mine was already spray painted, I was good to go.
This gilding wax dries in four hours. So you can add additional coats after that if you want to. And after 12 hours you can even come back in and buff it up to a nice shine. Once all my buffing was done, I applied all the hardware back to my piece.
Once I got them on, I just did a few little touch-ups with the gilding wax. If you have to do this, be really careful not to get this on your paint because it will stick and you won't be able to get it off. Yikes!

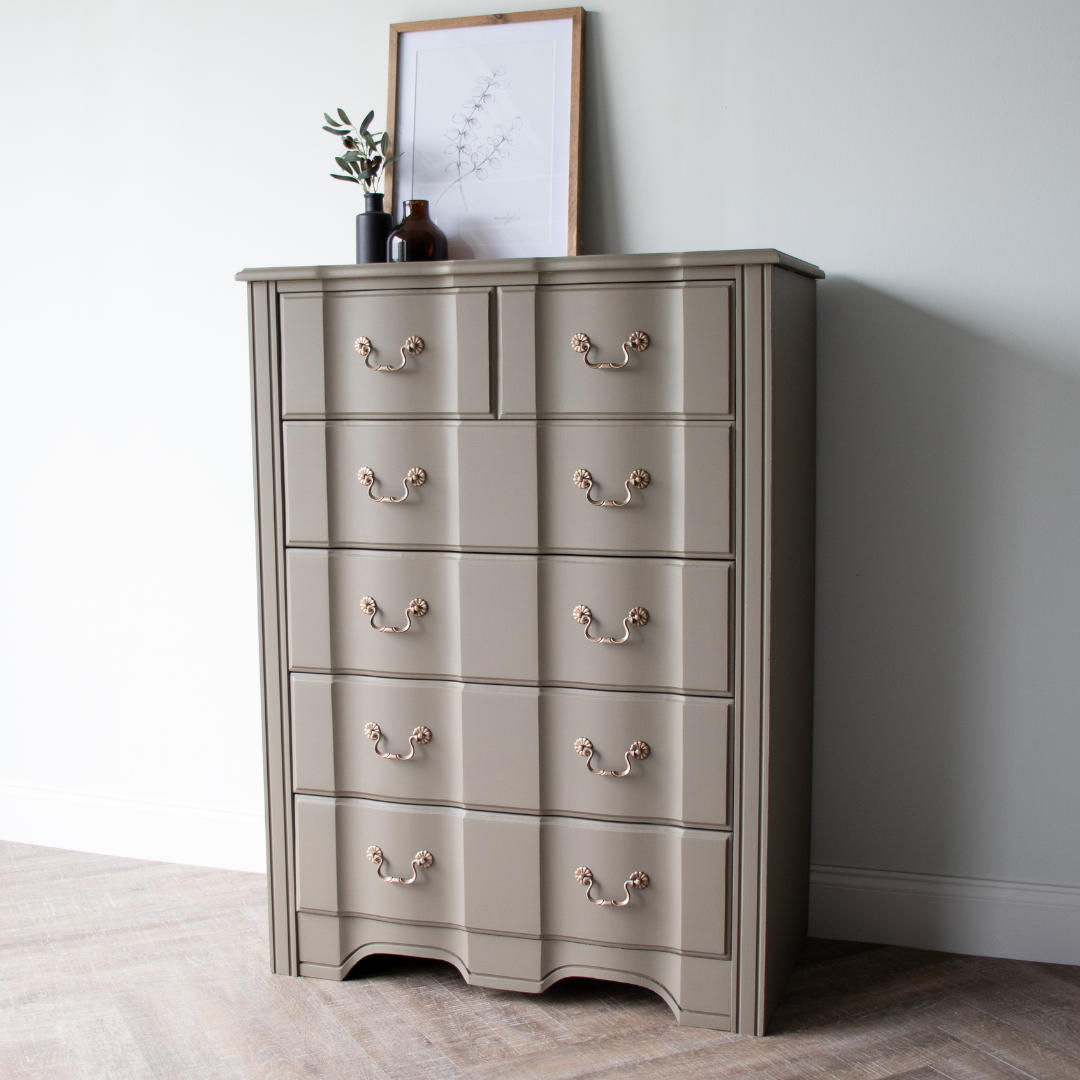
My Painting Fake Wood Reveal
My next steps, as a content creator, are to stage and take pictures of this. But if you were painting this for yourself, you want to leave it alone for 21 to 30 days for it to cure down completely to its hardest state. During that time, it's going to be easy to scratch it and mess it up. So it's best just to leave it alone and not place it in your room for those 30 days.
I know that's really challenging, but it's going to be worth it in the end.
I loved the way this factory finished piece turned out! It’s so beautiful! Take a look at the reveal below, and if you want to see the piece come together in action, check out the YouTube video here.